
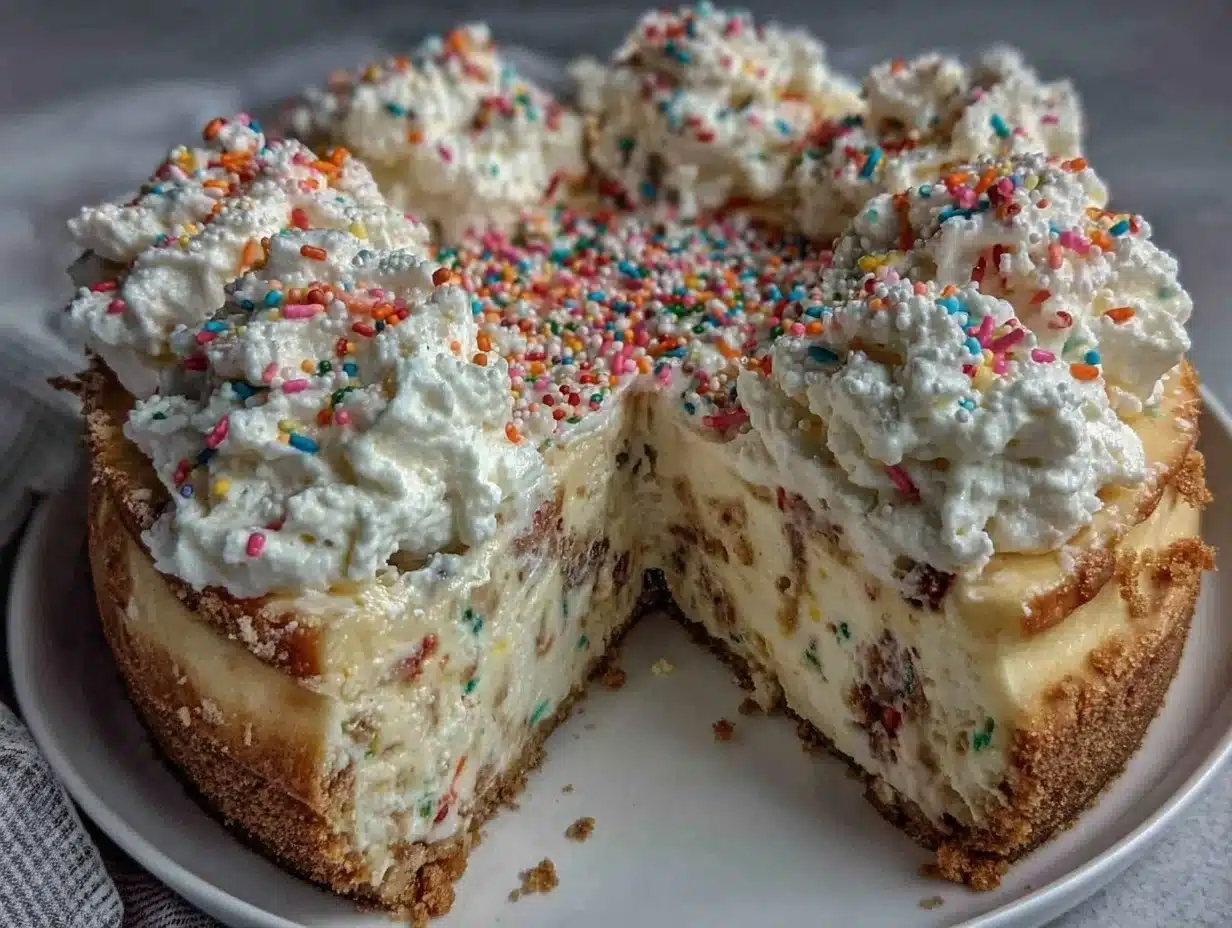
“Are you sure this is a cheesecake?” my cousin asked, peering skeptically at the glossy, cloud-like topping. Honestly, I wasn’t sure either the first time I whipped up this creamy birthday cheesecake with fluffy whipped topping. It started on a tired evening when I had zero energy for any elaborate baking but still wanted something special for my nephew’s birthday. I grabbed my usual cream cheese and whipped cream, threw them together, and—surprise!—this simple combo turned into a dessert that stole the spotlight.
That first bite was a quiet revelation—the balance between the rich, velvety cheesecake base and the airy, pillowy whipped cream on top was unlike any birthday cake I’d had before. It was almost like a little celebration in every forkful, but without the fuss of multiple layers or complex decorations. Since then, I couldn’t stop making it, especially around birthdays or whenever a quick, impressive dessert was needed. The soft tang of the cream cheese paired with the sweet, fluffy topping became a small ritual for marking moments that deserved something a bit more indulgent.
What stuck with me wasn’t just the flavor but the ease of it all. No stress about perfectly smooth batter or melting chocolate—just simple ingredients coming together to feel like a treat. Maybe you’ll find the same calming surprise in this recipe, a little reminder that sometimes the best desserts come from those unplanned, low-key kitchen wins.
Why You’ll Love This Recipe
This creamy birthday cheesecake with fluffy whipped topping isn’t your everyday dessert. It’s a little bit of comfort and celebration rolled into one, tested and tweaked until it hit just the right note. Here’s why it’s become a favorite in my kitchen:
- Quick & Easy: Ready in under 45 minutes (plus chilling), it’s perfect when you need a last-minute birthday dessert that doesn’t look rushed.
- Simple Ingredients: No rare finds or specialty stores—just staples like cream cheese, sugar, eggs, and heavy cream. I usually keep Philadelphia cream cheese and Organic Valley heavy cream on hand for the best texture.
- Perfect for Celebrations: Whether it’s a birthday party, a casual get-together, or a quiet night in, this cheesecake fits right in.
- Crowd-Pleaser: I’ve made this for family gatherings and potlucks, and it always disappears fast. Kids love the fluffy whipped topping, and adults appreciate the creamy richness.
- Unbelievably Delicious: The cheesecake layer is silky and smooth, while the whipped topping adds a cloud-like softness that melts in your mouth.
What sets this recipe apart is the whipped topping technique—I gently fold in a bit of cream cheese for stability and a slight tang, so it doesn’t just sit on top but feels like part of the whole experience. It’s less about flashy decorations and more about that satisfying, creamy texture combo you’ll want to savor forkful after forkful.
What Ingredients You Will Need
This recipe uses simple, wholesome ingredients to deliver bold flavor and satisfying texture without the fuss. Most are pantry staples, but here’s a quick rundown to keep on hand or pick up for your next celebration:
- Cream Cheese, softened (I recommend Philadelphia for its creamy consistency)
- Granulated Sugar (for sweetness balance)
- Large Eggs, room temperature (helps create a smooth batter)
- Sour Cream, full-fat (adds creaminess and a subtle tang)
- Vanilla Extract (pure vanilla for best aroma)
- All-Purpose Flour (just a touch for structure)
- Heavy Cream, cold (for the fluffy whipped topping)
- Powdered Sugar (to sweeten the whipped topping)
- Additional Cream Cheese (a small amount folded into the whipped cream for richness and stability)
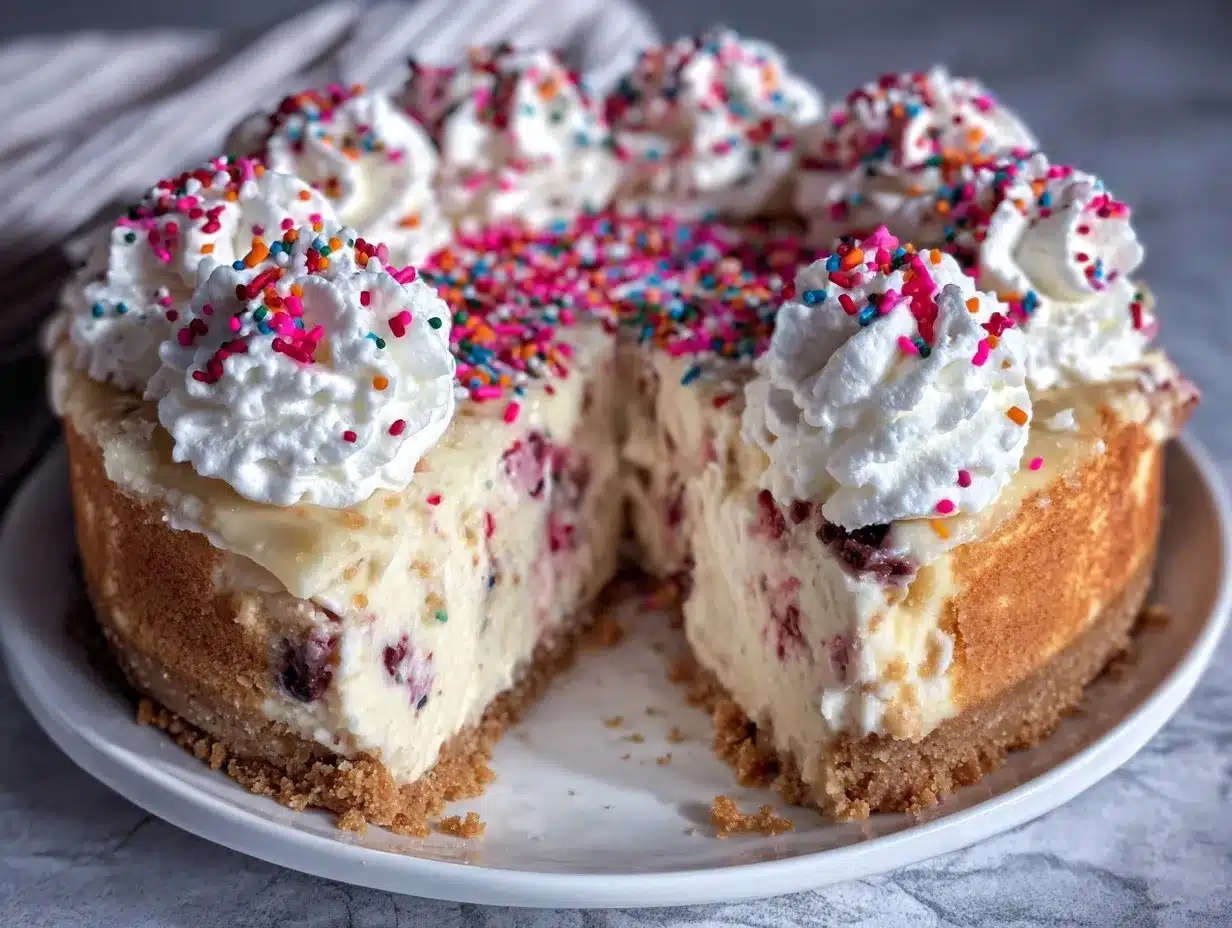
- Fresh Berries or Sprinkles (optional for garnish, especially festive for birthdays)
For substitutions, you can swap all-purpose flour with almond flour for a gluten-free twist, and coconut cream can be used instead of heavy cream if dairy-free is needed. For seasonal flair, try topping with fresh strawberries or raspberries, or use edible flowers for an elegant look. I always keep a jar of vanilla bean paste on hand for a more intense flavor if I want to switch things up.
Equipment Needed
- 9-inch Springform Pan: Essential for easy removal of the cheesecake without damage. If you don’t have one, a regular cake pan lined with parchment works, but be gentle when unmolding.
- Electric Mixer or Stand Mixer: A mixer with a whisk attachment helps get the cream cheese and whipped topping perfectly smooth and fluffy. Hand mixing is possible but takes more elbow grease and patience.
- Mixing Bowls: One large for the batter, one chilled for whipping cream.
- Rubber Spatula: For folding ingredients carefully without deflating the batter or whipped cream.
- Measuring Cups and Spoons: Precision matters for the texture here, so accurate measurement tools are helpful.
Personally, I used a Kitchenaid Artisan mixer for years, but a more budget-friendly Hamilton Beach hand mixer did the job just fine when I was starting out. Just keep your mixing bowl chilled for the whipped topping to get that perfect fluff. Also, it’s a good idea to have a clean kitchen towel or oven mitt handy when handling the hot pan after baking.
Preparation Method
- Preheat the Oven and Prepare the Pan: Set your oven to 325°F (163°C). Grease a 9-inch springform pan with butter or non-stick spray, then line the bottom with parchment paper to prevent sticking. This step ensures a smooth release later.
- Beat the Cream Cheese: In a large bowl, use an electric mixer to beat 24 oz (680 g) softened cream cheese until smooth and creamy, about 2-3 minutes. Avoid overmixing to prevent air bubbles that can cause cracks.
- Add Sugar and Eggs: Gradually add 1 cup (200 g) granulated sugar while mixing on low speed. Then add 3 large eggs, one at a time, mixing gently after each. The batter should be silky but not runny.
- Incorporate Sour Cream, Vanilla, and Flour: Fold in 1 cup (240 g) sour cream, 2 teaspoons vanilla extract, and 2 tablespoons all-purpose flour. Mix just until combined to keep the batter light and avoid toughness.
- Pour and Bake: Pour the batter into the prepared pan and smooth the top with a spatula. Bake for 50-60 minutes, or until the edges are set but the center jiggles slightly when shaken. This gentle doneness prevents dryness.
- Cool the Cheesecake: Turn off the oven and crack the door open, letting the cheesecake cool inside for 1 hour. This slow cooling helps reduce cracks. Then transfer to the fridge for at least 4 hours or overnight.
- Prepare the Fluffy Whipped Topping: Chill a mixing bowl and whisk attachment. Combine 1 cup (240 ml) cold heavy cream, 2 tablespoons powdered sugar, and 2 oz (57 g) cream cheese softened. Whisk on high speed until soft peaks form—this will be light but stable enough to hold its shape.
- Top and Garnish: Spread or pipe the whipped topping over the chilled cheesecake. Decorate with fresh berries or colorful sprinkles for that festive birthday vibe.
Pro tip: If cracks appear, cover lightly with whipped topping and garnish—no one will notice, and it tastes amazing anyway! Also, keep your ingredients at room temperature before starting to avoid lumps or graininess.
Cooking Tips & Techniques
Getting creamy cheesecake right can be tricky if you’re new to it, but a few tricks from my kitchen experiments can help you nail it every time:
- Room Temperature Ingredients: Softened cream cheese and eggs blend more smoothly, preventing lumps or grainy texture. I learned this the hard way after one batch was a bit chunky.
- Don’t Overmix: Mixing too long incorporates air that causes cracks during baking. Mix until just combined, then stop.
- Water Bath Option: For ultra-smooth results, place the springform pan in a larger pan filled halfway with hot water. This gentle steam helps baking evenly and reduces cracks. I skip this for quick batches but it’s a pro move.
- Slow Cooling: Cooling the cheesecake gradually in the oven prevents temperature shock, which can crack the surface.
- Whipped Topping Stability: Adding a bit of cream cheese to the whipped cream helps it hold peaks longer, especially important if you’re prepping ahead of time.
- Multi-tasking Tip: While the cheesecake chills, whip your topping and prep garnishes to save time.
Variations & Adaptations
This creamy birthday cheesecake recipe is like a blank canvas—you can customize it to suit your taste or dietary needs easily:
- Flavor Twists: Add lemon zest or a splash of fresh lemon juice to the batter for a bright, citrusy note. Alternatively, swirl in raspberry jam before baking for a fruity surprise.
- Dairy-Free Option: Use vegan cream cheese and coconut cream whipped topping. The texture won’t be quite the same but still delicious!
- Crust Variations: Though this recipe skips the crust for simplicity, you can add a graham cracker or Oreo crust for extra crunch.
- Seasonal Toppings: Swap fresh berries for sliced peaches in summer or sprinkle chopped toasted nuts and caramel drizzle in colder months.
- Personal Favorite: I once tried folding crushed pistachios into the whipped topping—unexpectedly delightful! It added a subtle crunch and festive green pop for a birthday party.
For cooking method swaps, this cheesecake can be made in smaller ramekins for mini cheesecakes—just reduce baking time to 25-30 minutes.
Serving & Storage Suggestions
This cheesecake shines best served chilled but not too cold—let it sit at room temperature for 15-20 minutes before slicing to soften up for that melt-in-your-mouth feel. Presentation-wise, a simple sprinkle of fresh berries or colorful sprinkles makes it instantly festive and inviting.
Complement it with a cup of lightly brewed coffee or a sparkling rosé for adult celebrations. For a brunch spread, pairing it alongside light fruit salads or even fluffy treats like rainbow pancakes can turn any morning into a party.
Store leftover cheesecake covered tightly in the fridge for up to 4 days. It can also be frozen wrapped in plastic wrap and foil for up to 2 months. To reheat, thaw overnight in the fridge, then bring to room temperature before serving. The flavors actually deepen with time, making it even more comforting the next day.
Nutritional Information & Benefits
This creamy birthday cheesecake is indulgent but made with real ingredients that can fit into a balanced diet when enjoyed in moderation. Per slice (1/12th of the cheesecake), here’s an estimate:
| Calories | Fat | Protein | Carbs | Sugar |
|---|---|---|---|---|
| 320 | 24g | 6g | 18g | 14g |
The cream cheese and sour cream provide good amounts of calcium and protein, while the heavy cream adds richness. If you’re watching carbs, swapping the sugar for a natural sweetener like erythritol can lighten the load. Just note that the texture might change slightly.
For those with allergies, this recipe contains dairy and eggs, but gluten-free versions are easy with almond flour or gluten-free crusts. I like that this cheesecake feels like a treat without artificial ingredients or preservatives—a small celebration you can feel good about.
Conclusion
This creamy birthday cheesecake with fluffy whipped topping has earned a little corner in my recipe box as a reliable, crowd-pleasing dessert that’s both simple and luxurious. It’s the kind of recipe you can tweak to match your mood or occasion, whether you want a classic creamy slice or a zesty, colorful treat.
What I love most is how it turns low-key ingredients into something special without the stress. If you give it a try, feel free to make it your own—add your favorite flavors, play with toppings, and share your twists. After all, every birthday (or any day) deserves a dessert that feels a bit like a hug.
And if you enjoy this, you might appreciate the light, fruity charm of mini cheesecakes perfect for intimate gatherings or the indulgent layers in the Dubai chocolate bar with pistachio knafeh for your next celebration. Both have that special something that makes dessert time worth the wait.
FAQs About Creamy Birthday Cheesecake with Fluffy Whipped Topping
Can I make this cheesecake ahead of time?
Absolutely! This cheesecake tastes even better after chilling overnight. Just wait to add the whipped topping until just before serving for the freshest look.
How do I prevent cracks in my cheesecake?
Use room temperature ingredients, avoid overmixing, and cool the cheesecake slowly—letting it sit in a slightly open oven after baking helps a lot.
Can I use a different type of cream cheese?
Yes, but full-fat cream cheese like Philadelphia gives the best texture and flavor. Low-fat versions might make the cheesecake less creamy and dense.
What’s the best way to whip the topping so it stays fluffy?
Chill your mixing bowl and beaters beforehand, use cold heavy cream, and fold in softened cream cheese for extra stability.
Is this recipe gluten-free?
By default, it contains a bit of flour, but you can substitute with almond flour or a gluten-free blend to make it friendly for gluten-free diets.
Pin This Recipe!
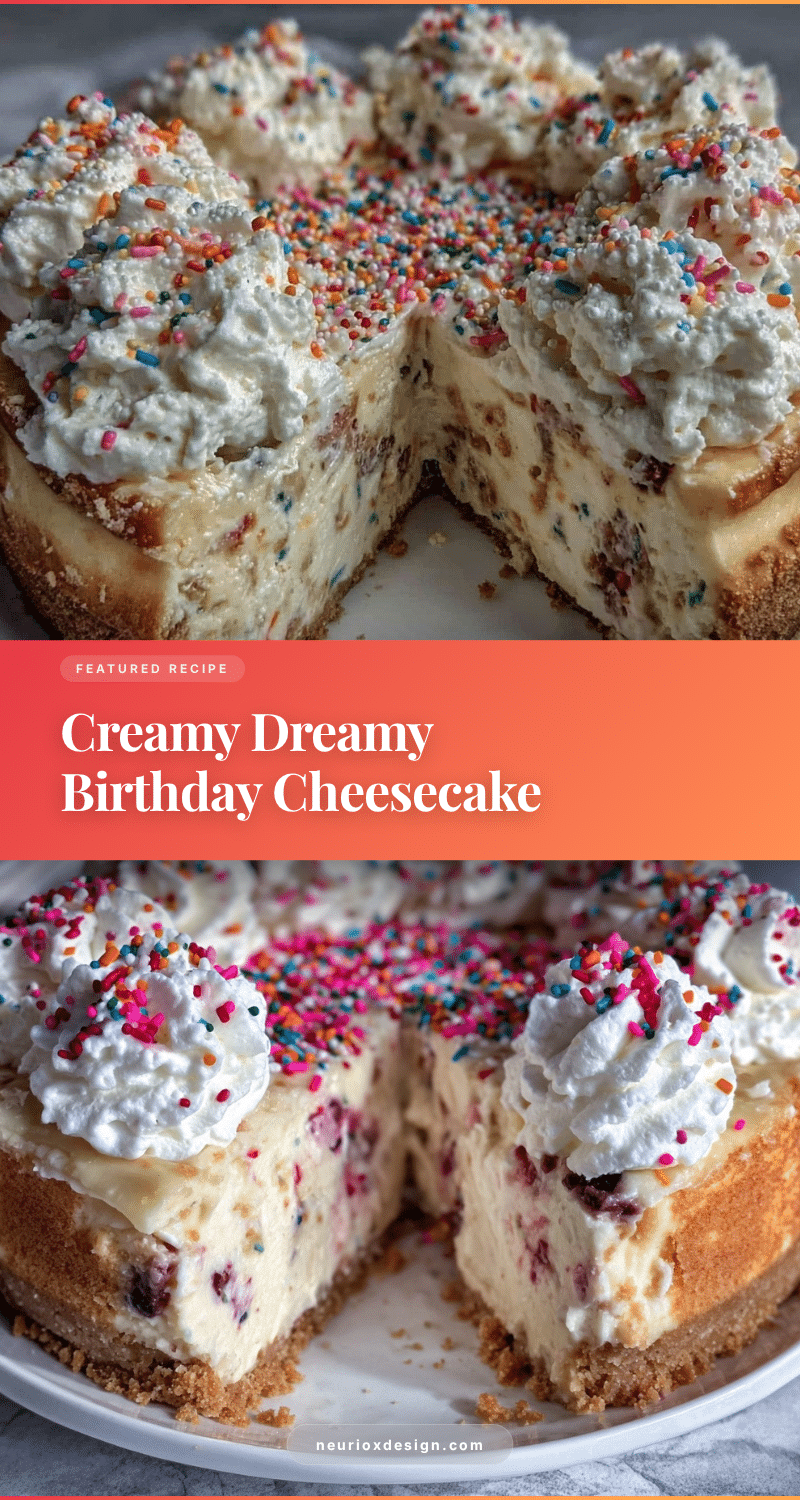

Creamy Birthday Cheesecake Recipe with Fluffy Whipped Topping
- Total Time: 5 hours 15 minutes
- Yield: 12 servings 1x
Description
A quick and easy creamy birthday cheesecake with a silky cheesecake base and a cloud-like fluffy whipped topping, perfect for celebrations and crowd-pleasing dessert.
Ingredients
- 24 oz (680 g) cream cheese, softened
- 1 cup (200 g) granulated sugar
- 3 large eggs, room temperature
- 1 cup (240 g) full-fat sour cream
- 2 teaspoons vanilla extract
- 2 tablespoons all-purpose flour
- 1 cup (240 ml) cold heavy cream
- 2 tablespoons powdered sugar
- 2 oz (57 g) cream cheese, softened (for whipped topping)
- Fresh berries or sprinkles (optional, for garnish)
Instructions
- Preheat the oven to 325°F (163°C). Grease a 9-inch springform pan with butter or non-stick spray and line the bottom with parchment paper.
- In a large bowl, beat 24 oz softened cream cheese with an electric mixer until smooth and creamy, about 2-3 minutes. Avoid overmixing.
- Gradually add 1 cup granulated sugar while mixing on low speed. Add 3 large eggs one at a time, mixing gently after each.
- Fold in 1 cup sour cream, 2 teaspoons vanilla extract, and 2 tablespoons all-purpose flour. Mix just until combined.
- Pour the batter into the prepared pan and smooth the top with a spatula. Bake for 50-60 minutes until edges are set but center jiggles slightly.
- Turn off the oven, crack the door open, and let the cheesecake cool inside for 1 hour. Then refrigerate for at least 4 hours or overnight.
- Chill a mixing bowl and whisk attachment. Combine 1 cup cold heavy cream, 2 tablespoons powdered sugar, and 2 oz softened cream cheese. Whisk on high speed until soft peaks form.
- Spread or pipe the whipped topping over the chilled cheesecake. Garnish with fresh berries or sprinkles if desired.
Notes
Use room temperature ingredients to avoid lumps. Avoid overmixing to prevent cracks. Slow cooling in the oven reduces cracks. Adding cream cheese to whipped cream stabilizes the topping. A water bath can be used for ultra-smooth results. Store leftovers covered in the fridge up to 4 days or freeze up to 2 months.
- Prep Time: 15 minutes
- Cook Time: 50-60 minutes
- Category: Dessert
- Cuisine: American
Nutrition
- Serving Size: 1 slice (1/12th of c
- Calories: 320
- Sugar: 14
- Fat: 24
- Carbohydrates: 18
- Protein: 6
Keywords: cheesecake, birthday dessert, creamy cheesecake, whipped topping, easy cheesecake, celebration dessert
