

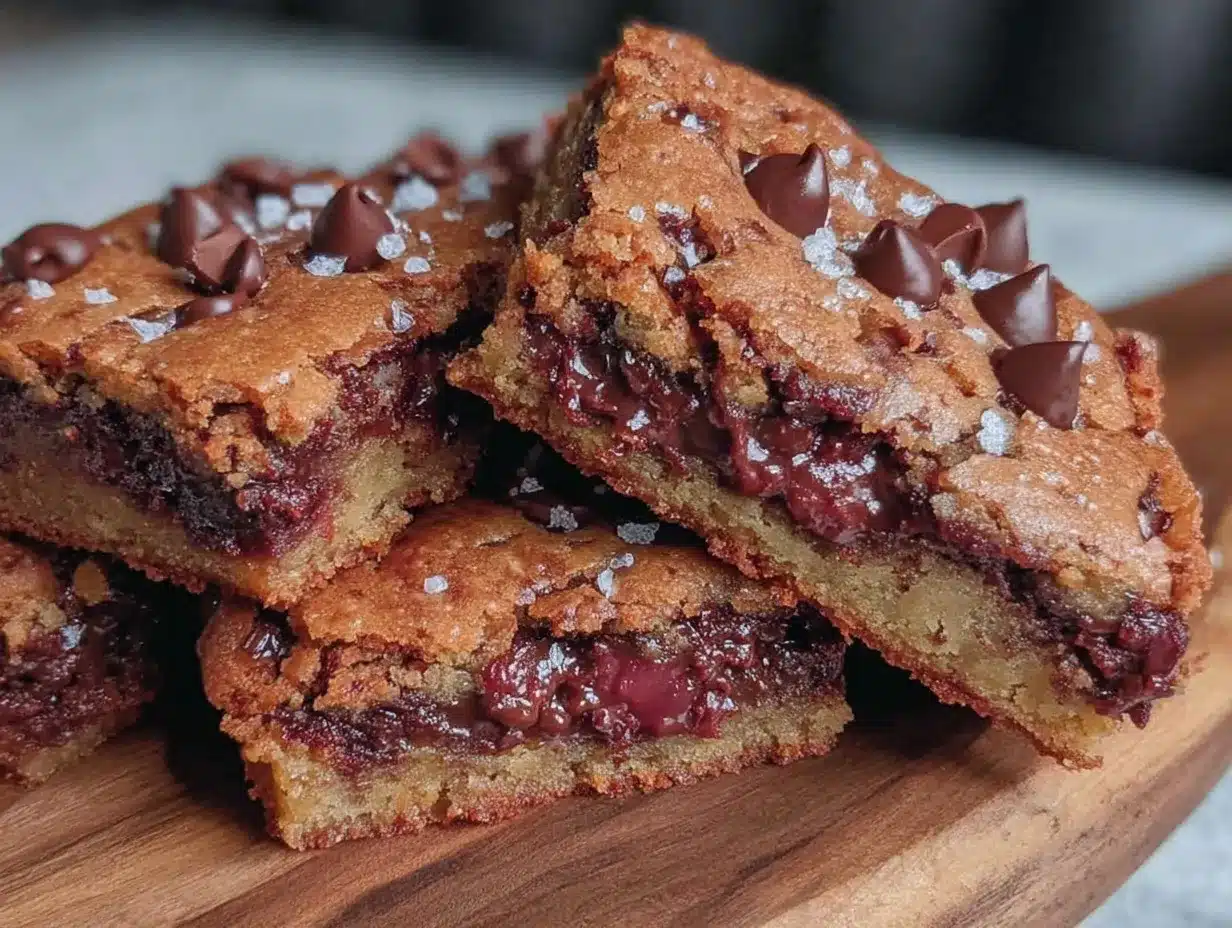
“I wasn’t expecting much when I grabbed that dusty, half-used yellow cake mix from the back of my pantry on a random Thursday evening. Honestly, it was just supposed to be a quick fix for my sweet tooth. But as I mixed in a handful of chocolate chips and popped the batter into a pan, I had no clue I was about to stumble upon the most satisfying homemade treat: easy chewy cake mix cookie bars with chocolate chips.
It’s funny how some of the best recipes come from sheer happenstance. The sizzle of butter melting, the sweet aroma filling my tiny kitchen, and the way those cookie bars pulled away from the pan with such perfect chewiness—well, it felt like a little magic had happened. I remember juggling a cracked mixing bowl and a curious tabby cat who decided this was the moment to get involved, making a bit of a mess (of course).
Maybe you’ve been there too—needing something quick, comforting, and downright delicious without having to pull out a dozen ingredients or spend hours baking. This recipe stuck with me because it’s simple, forgiving, and truly hits that nostalgic spot of homemade goodness. Every time I make these bars, I get a little thrill of comfort and joy, and I’m betting you will, too.
Why You’ll Love This Recipe
After testing more cookie bar recipes than I care to admit, this easy chewy cake mix cookie bars with chocolate chips recipe really stands out. Here’s why it quickly became my go-to:
- Quick & Easy: Ready in under 30 minutes from start to finish, perfect for those “I need a treat now” moments.
- Simple Ingredients: Uses pantry staples you probably already have—no last-minute store runs needed.
- Perfect for Any Occasion: Whether it’s a casual snack, a bake sale hit, or an after-dinner indulgence, these bars fit right in.
- Crowd-Pleaser: Kids, adults, picky eaters—they all come back for seconds (and thirds).
- Unbelievably Delicious: The chewy texture paired with melty chocolate chips is just next-level comforting.
This isn’t your run-of-the-mill cake mix cookie bar. The secret is in the balance of butter and eggs with the cake mix, creating a tender crumb that’s chewy without being cakey. I also toss in a generous handful of chocolate chips because, well, why not? It’s the kind of treat that makes you close your eyes after the first bite and think, “Yep, this is exactly what I needed.”
What Ingredients You Will Need
This recipe keeps things straightforward, relying on familiar ingredients that play together to deliver rich flavor and perfect chewiness. Here’s what you’ll need:
- Yellow cake mix (about 15.25 oz / 432 g) – the base that brings sweetness and structure
- Unsalted butter, melted (1/2 cup / 115 g) – adds richness and chewiness (I prefer Kerrygold for that deep buttery taste)
- Large eggs (2, room temperature) – bind everything together and keep the bars moist
- Vanilla extract (1 teaspoon) – gives a warm, inviting aroma
- Semi-sweet chocolate chips (1 cup / 175 g) – the melty pockets of chocolate everyone loves (Ghirardelli or Nestlé Toll House work great)
- Optional: chopped nuts (1/2 cup / 60 g) – walnuts or pecans add a nice crunch and depth
All these ingredients come together without fuss. If you’re feeling adventurous, you can swap the yellow cake mix for a chocolate or spice variety to change up the flavor profile without much effort. For a dairy-free twist, use coconut oil instead of butter and dairy-free chocolate chips.
Equipment Needed
Luckily, this recipe doesn’t require fancy gadgets. Here’s what I use in my kitchen:
- 9×13-inch baking pan – the perfect size for these cookie bars; I line mine with parchment paper for easy removal and cleanup
- Mixing bowls – one medium-sized bowl for mixing the batter
- Whisk or wooden spoon – to combine ingredients smoothly; I find a sturdy wooden spoon works best to fold in the chocolate chips without breaking them
- Measuring cups and spoons – for accuracy, especially with butter and eggs
- Spatula – handy for scraping down the sides and spreading the batter evenly
If you don’t have a 9×13 pan, feel free to use an 8×8 for thicker bars, just adjust the baking time accordingly. For those on a budget, aluminum foil pans work surprisingly well and make clean-up a breeze. I always recommend greasing or lining the pan, so your bars come out cleanly every time.
Preparation Method
- Preheat your oven to 350°F (175°C). Line your 9×13-inch pan with parchment paper, leaving an overhang on the sides to lift the bars out easily after baking. Alternatively, grease the pan well.
- Melt the butter gently in the microwave or on the stovetop. Let it cool slightly so it’s warm but not hot—that way you avoid cooking the eggs when mixing.
- In a medium bowl, combine the yellow cake mix, melted butter, eggs, and vanilla extract. Stir with a wooden spoon or whisk until everything is just combined. The batter should be thick and sticky—not runny. If it feels too dry, add a teaspoon of milk or water.
- Fold in the chocolate chips and nuts if using, distributing them evenly throughout the batter. Resist the urge to overmix; you want those chocolate chips intact!
- Spread the batter evenly into the prepared pan using a spatula. Pat it down gently to smooth the top, but don’t press too hard—you want to keep some air for chewiness.
- Bake for 22-26 minutes. Start checking at 22 minutes by inserting a toothpick in the center; it should come out with a few moist crumbs but not wet batter. The edges will look golden and set.
- Remove from the oven and let the bars cool completely in the pan on a wire rack. Cooling is key—it finishes the setting process and keeps the bars chewy.
- Lift out the bars using the parchment paper overhang and cut into squares or rectangles. Store any leftovers in an airtight container at room temperature for up to 3 days, or refrigerate for longer freshness.
Cooking Tips & Techniques
Getting these cookie bars just right takes a bit of know-how, but nothing too complicated. Here’s what I’ve learned after many batches:
- Butter temperature matters: Melted butter should be warm, not hot. Too hot can scramble the eggs and ruin the texture.
- Don’t overmix: When combining ingredients, mix until just blended. Overmixing can make the bars tough instead of chewy.
- Watch your baking time: These bars continue to cook a bit as they cool, so pulling them out slightly earlier prevents dryness.
- Use parchment paper: This is a game-changer for easy removal and clean-up. Trust me, it saves you from a sticky mess.
- Customize with mix-ins: Adding nuts, white chocolate chips, or even dried fruit lets you tailor the bars to your mood or occasion.
- Let them cool fully: Patience pays off here. Cutting too soon leads to crumbly bars, while cooling locks in that chewy goodness.
Variations & Adaptations
If you like switching things up or catering to dietary needs, these cookie bars are surprisingly versatile:
- Gluten-Free Option: Use a gluten-free yellow cake mix. Brands like Betty Crocker have great options that bake just as well.
- Flavor Twists: Swap the vanilla extract with almond or maple extract for a different flavor profile. You can also use a spice cake mix for a warm, cinnamon-y spin.
- Mix-In Swaps: Try peanut butter chips, butterscotch chips, or chopped dried cherries instead of chocolate chips. I once made a batch with chopped espresso beans—surprisingly delicious!
- Vegan Adaptation: Use a vegan cake mix, substitute eggs with flax eggs (1 tbsp ground flaxseed + 3 tbsp water per egg), and replace butter with coconut oil.
- Baking Method: For a slightly softer texture, bake in an 8×8 pan and reduce baking time by 5 minutes.
Serving & Storage Suggestions
These cookie bars are fantastic served slightly warm or at room temperature. I like to pull a few out and microwave them for 10 seconds—melty chocolate heaven! They pair wonderfully with a glass of cold milk or a hot cup of coffee.
If you’re serving at a party or potluck, cut them into bite-size squares for easy snacking. For a fun twist, top with a sprinkle of sea salt or a drizzle of caramel sauce right before serving.
To store, keep the bars in an airtight container at room temperature for up to 3 days. For longer storage, pop them in the fridge for up to a week, or freeze wrapped tightly for up to 3 months. When reheating, let them come to room temp or warm gently in the microwave to bring back that soft, chewy texture.
Over time, these bars actually develop a deeper, more complex flavor, so if you can wait a day before digging in, you might find they taste even better!
Nutritional Information & Benefits
While these cookie bars are definitely a treat, here’s a rough idea of their nutritional profile per serving (based on 12 bars):
| Nutrient | Amount |
|---|---|
| Calories | 220 |
| Fat | 11g |
| Saturated Fat | 6g |
| Carbohydrates | 29g |
| Sugar | 18g |
| Protein | 2g |
Key ingredients like butter provide satisfying fats that help keep you full, while the eggs add a bit of protein. Using semi-sweet chocolate chips gives you that boost of antioxidants from cocoa. For those mindful of allergens, remember this recipe contains eggs, dairy, gluten (unless substituted), and soy (in some chocolate chips).
From a wellness perspective, these bars offer a comforting pick-me-up without being overly complicated or loaded with artificial ingredients. They’re a reminder that sometimes simple homemade treats can brighten your day and satisfy cravings in a wholesome way.
Conclusion
Easy chewy cake mix cookie bars with chocolate chips are one of those recipes that just keep coming back to me—simple, satisfying, and reliably delicious. Whether you’re a busy parent, a novice baker, or just someone who loves a quick sweet bite, this recipe fits like a cozy kitchen hug.
Feel free to tweak the mix-ins, play with flavors, or adjust texture by changing baking times. The important thing is to make it your own and enjoy every gooey, chocolatey bite.
If you try this recipe, I’d love to hear how it turns out or what variations you came up with! Share your thoughts, tips, or photos in the comments below and let’s keep the sweet conversation going. Happy baking!
FAQs
Can I use a different cake mix flavor?
Absolutely! Chocolate, spice, or even funfetti cake mixes work well, just expect slight changes in flavor and color.
How do I keep the bars chewy and not cakey?
Don’t overbake and be sure to let the bars cool completely before cutting. Also, avoid overmixing the batter.
Can I make these bars gluten-free?
Yes, use a gluten-free cake mix and confirm your other ingredients are gluten-free.
What’s the best way to store leftovers?
Keep them in an airtight container at room temperature for up to 3 days, or freeze for longer storage.
Can I add other mix-ins besides chocolate chips?
Definitely! Nuts, dried fruit, or different types of chocolate chips all make tasty additions.
Pin This Recipe!
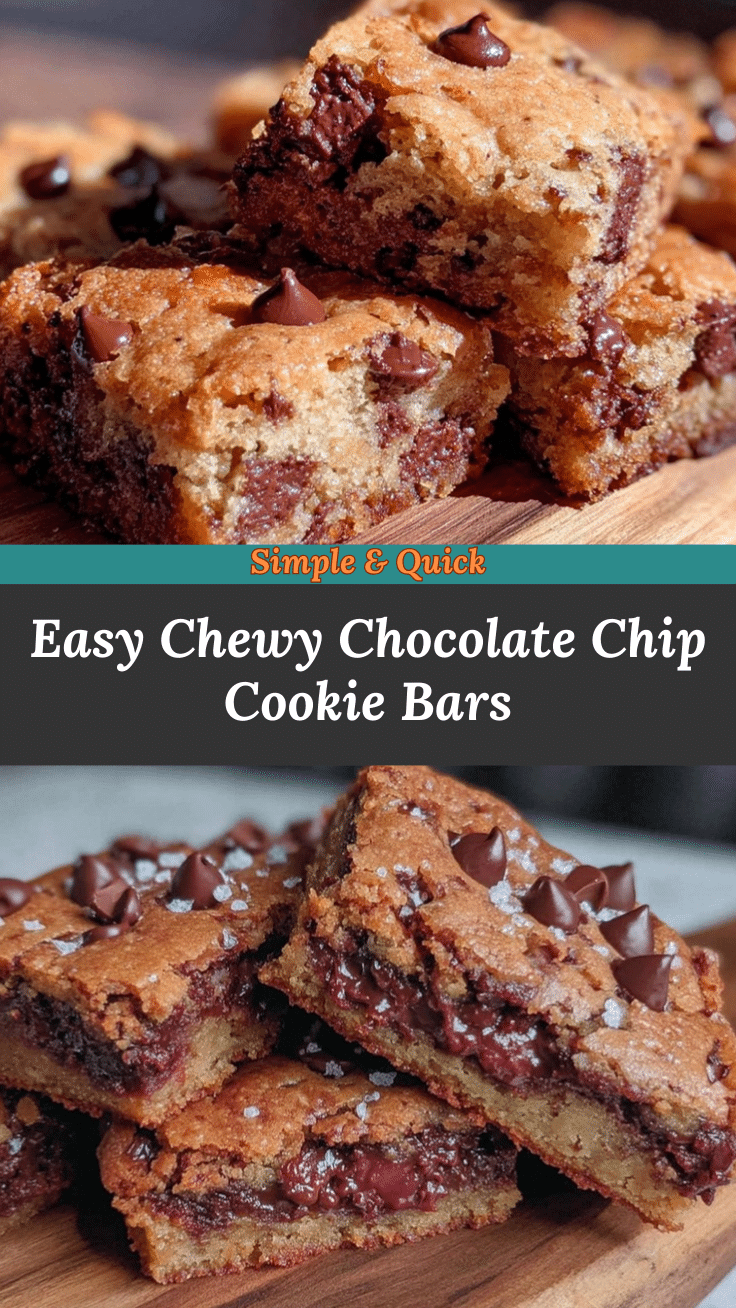

Easy Chewy Cake Mix Cookie Bars with Chocolate Chips
- Total Time: 32-36 minutes
- Yield: 12 servings 1x
Description
A quick and easy recipe for chewy cookie bars made from yellow cake mix and chocolate chips, perfect for a comforting homemade treat.
Ingredients
- 15.25 oz (432 g) yellow cake mix
- 1/2 cup (115 g) unsalted butter, melted
- 2 large eggs, room temperature
- 1 teaspoon vanilla extract
- 1 cup (175 g) semi-sweet chocolate chips
- Optional: 1/2 cup (60 g) chopped nuts (walnuts or pecans)
Instructions
- Preheat your oven to 350°F (175°C). Line a 9×13-inch pan with parchment paper, leaving an overhang on the sides, or grease the pan well.
- Melt the butter gently in the microwave or on the stovetop. Let it cool slightly so it’s warm but not hot.
- In a medium bowl, combine the yellow cake mix, melted butter, eggs, and vanilla extract. Stir with a wooden spoon or whisk until just combined. If the batter feels too dry, add a teaspoon of milk or water.
- Fold in the chocolate chips and nuts if using, distributing them evenly throughout the batter without overmixing.
- Spread the batter evenly into the prepared pan using a spatula. Pat it down gently to smooth the top without pressing too hard.
- Bake for 22-26 minutes. Start checking at 22 minutes by inserting a toothpick in the center; it should come out with a few moist crumbs but not wet batter. The edges will look golden and set.
- Remove from the oven and let the bars cool completely in the pan on a wire rack.
- Lift out the bars using the parchment paper overhang and cut into squares or rectangles. Store leftovers in an airtight container at room temperature for up to 3 days or refrigerate for longer freshness.
Notes
Use warm but not hot melted butter to avoid cooking the eggs. Do not overmix the batter to keep bars chewy. Let bars cool completely before cutting to prevent crumbling. For thicker bars, use an 8×8 pan and reduce baking time by 5 minutes. Parchment paper helps with easy removal and cleanup.
- Prep Time: 10 minutes
- Cook Time: 22-26 minutes
- Category: Dessert
- Cuisine: American
Nutrition
- Serving Size: 1 bar (1/12 of recip
- Calories: 220
- Sugar: 18
- Sodium: 150
- Fat: 11
- Saturated Fat: 6
- Carbohydrates: 29
- Fiber: 1
- Protein: 2
Keywords: cake mix cookie bars, chewy cookie bars, chocolate chip bars, easy dessert, quick cookie bars, homemade treats
