

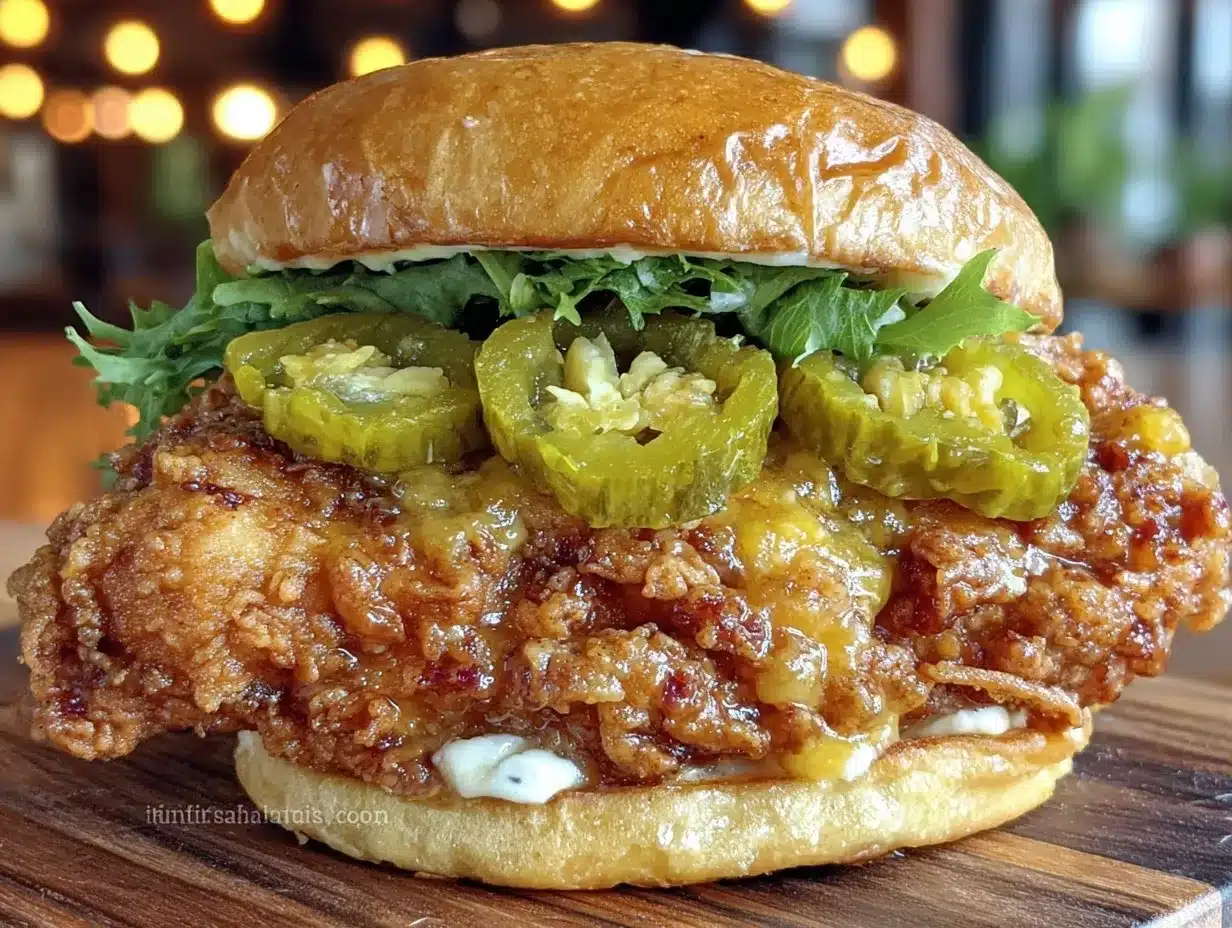
“I swear, it was just supposed to be a quick dinner fix,” I muttered as the kitchen filled with that irresistible sizzle and pop. Honestly, I was aiming for a simple fried chicken sandwich, but the jar of dill pickles sitting on the counter caught my eye. A little voice nudged me to try brining the chicken in pickle juice first — skeptical, I poured the brine over the chicken breasts and left them to soak for a few hours. Fast forward to dinner time: the crust was golden-brown and extra crispy, the meat juicy with a subtle tang that made me pause mid-bite.
That first accidental attempt at this crispy pickle brined fried chicken sandwich recipe quickly turned into a repeat performance — I found myself making it multiple times in one week, tweaking spices here and there, but never straying far from that brine. The crunch, the juicy tenderness, and that hint of pickle magic somehow made this sandwich feel like a tiny victory on even the most chaotic evenings.
What stuck with me most wasn’t just the flavor, but the way this recipe quietly changed how I think about fried chicken sandwiches. It’s not just comfort food; it’s a little twist that makes you want to savor each bite, the kind that sneaks up and becomes a quiet favorite. Every time I make it, I’m reminded that sometimes the best dishes come from a happy accident and a little kitchen curiosity.
Why You’ll Love This Crispy Pickle Brined Fried Chicken Sandwich Recipe
After testing this recipe a bunch of times (yeah, I’m kind of obsessed), I can confidently say this sandwich hits a delicious sweet spot. It’s not just any fried chicken sandwich — the pickle brine is a total game-changer, giving the chicken a juicy, tangy kick that’s balanced perfectly by the crispy coating. Here’s why this recipe stands out:
- Quick & Easy: The brining takes a few hours, but the actual assembly and frying come together in under 30 minutes — perfect for those weeknights when you want something special without fussing.
- Simple Ingredients: You probably already have most of these in your pantry, plus that jar of pickles you forgot about in the fridge.
- Perfect for Casual Gatherings: Whether you’re feeding hungry kids after school or hosting friends for an impromptu dinner, this sandwich always impresses without the stress.
- Crowd-Pleaser: I’ve watched skeptical friends take a bite and come back for seconds — the crispy outside and juicy inside combo is just irresistible.
- Unbelievably Delicious: Thanks to the pickle brine, the chicken stays tender and flavorsome, while the coating delivers that satisfying crunch we all crave.
This isn’t your run-of-the-mill fried chicken sandwich. The secret lies in the pickle brine soaking, which tenderizes the meat while infusing a subtle tang that plays beautifully with the seasoned, crispy crust. Plus, swapping out the usual buttermilk for pickle juice adds a little zing without extra calories or complicated ingredients. Honestly, it’s comfort food with a twist — familiar but exciting. If you’re into sandwiches that make you close your eyes after the first bite, you’re going to love this one.
What Ingredients You Will Need
This recipe keeps things straightforward but flavorful. The ingredients work together to create that crave-worthy crispy pickle brined fried chicken sandwich that’s juicy inside and perfectly crunchy outside. Most are pantry staples, with a tasty twist thanks to the brine.
- Chicken Breasts: Boneless, skinless, about 2 large breasts (~1 lb or 450 g). Cut in half horizontally if needed for sandwich-sized pieces.
- Pickle Juice: About 1 cup (240 ml) from a jar of dill pickles. Look for a brine with garlic and dill for extra flavor punch.
- Buttermilk: 1 cup (240 ml), for the dredging mixture (you can substitute with milk and a teaspoon of lemon juice if needed).
- All-Purpose Flour: 1 ½ cups (190 g), for the crispy coating. I like to use King Arthur brand for consistent texture.
- Cornstarch: ½ cup (60 g), mixed with the flour to boost crispiness.
- Seasonings: 1 teaspoon each of garlic powder, onion powder, smoked paprika, salt, and black pepper. Feel free to tweak to your taste.
- Eggs: 2 large, beaten, to help the coating stick.
- Pickles: Sliced dill pickles, for topping the sandwich. Fresh and crunchy is best.
- Buns: Soft brioche buns or potato rolls work great — lightly toasted for extra texture.
- Optional Toppings: Mayonnaise, spicy aioli, or a slice of cheese like pepper jack or cheddar.
If you’re after a gluten-free alternative, swapping the all-purpose flour for almond flour or a gluten-free blend works well, though the texture will be slightly different. For dairy-free, simply replace buttermilk with a mix of almond milk and apple cider vinegar and use egg substitutes if needed.
Equipment Needed
- Large Mixing Bowls: For the brine, dredging, and coating steps.
- Frying Pan or Skillet: A heavy-bottomed cast iron skillet is my favorite for even heat distribution and crispiness.
- Thermometer: An instant-read thermometer helps keep oil temperature steady around 350°F (175°C), avoiding greasy or undercooked chicken.
- Tongs: For safely flipping and handling the chicken pieces.
- Wire Rack: To drain the fried chicken after cooking, keeping it crisp instead of soggy.
- Measuring Cups and Spoons: For precise seasoning and flour ratios.
If you don’t have a cast iron skillet, a deep non-stick pan works fine. Just make sure it’s deep enough for about 1 inch (2.5 cm) of oil. For a budget-friendly option, you can even use a deep fryer if you have one — just adjust the oil temperature carefully. I’ve found that using a wire rack instead of paper towels to drain the chicken helps maintain that beautiful crispy texture, something I learned after too many soggy sandwiches!
Preparation Method
- Brine the Chicken: Place the chicken breasts in a bowl or zip-top bag and pour 1 cup (240 ml) of pickle juice over them. Cover and refrigerate for at least 2 hours, ideally up to 4 hours. This step is key for juicy, flavorful chicken.
- Prepare the Dredging Station: In one bowl, whisk together the buttermilk and beaten eggs. In another bowl, combine the flour, cornstarch, garlic powder, onion powder, smoked paprika, salt, and black pepper. Mix well to distribute the spices evenly.
- Remove and Dry: Take the chicken out of the brine and pat dry with paper towels to avoid excess moisture, which can make the coating soggy.
- Coat the Chicken: Dip each piece first into the buttermilk-egg mixture, then dredge thoroughly in the seasoned flour mixture. For extra crispy crust, repeat the dipping and dredging once more.
- Heat the Oil: Pour about 1 inch (2.5 cm) of vegetable or peanut oil into your skillet. Heat to 350°F (175°C) — use a thermometer for accuracy. Too hot, and the crust burns; too cool, and chicken gets greasy.
- Fry the Chicken: Carefully place the coated chicken pieces in the hot oil, avoiding overcrowding. Fry for about 4-5 minutes per side, flipping once, until the crust is deep golden and an internal temperature of 165°F (74°C) is reached.
- Drain and Rest: Transfer the fried chicken to a wire rack set over a baking sheet. Let rest for 5 minutes to let juices redistribute and keep the crust crisp.
- Assemble the Sandwich: Toast the buns lightly. Spread your choice of mayonnaise or aioli, add the chicken, then layer on fresh dill pickle slices. If you like it spicy, a drizzle of hot honey or chili crisp pairs wonderfully here.
Pro tip: Keep the oil temperature steady by frying in batches and adjusting the heat as needed. If the coating feels too thick, sift the flour mixture before dredging to avoid clumps. And remember, letting the chicken rest after frying is what keeps it juicy inside with that satisfying crunch outside.
Cooking Tips & Techniques
Here’s where years of trial-and-error play a role. The pickle brine is a trick I stumbled on after a few too many dry fried chicken attempts. Brining adds moisture and a subtle tang that makes a huge difference. But, you want to avoid over-brining — too long and the chicken texture gets mushy. Two to four hours is the sweet spot.
Maintaining the right oil temperature is honestly the trickiest part. I learned to use a thermometer religiously after a few batches turned out greasy or burnt. Also, don’t overcrowd the skillet — that drops the oil temperature and leads to soggy crusts.
When coating, double dredging is a game-changer for extra crunch. It might feel like a bit of extra work, but that thick, crunchy crust is worth it. I sometimes add a little garlic powder or smoked paprika to the flour mix for a flavor boost, especially if I’m serving the sandwich with a side of fries or these crispy air fryer corn ribs.
Lastly, resting the chicken on a wire rack instead of paper towels helps keep every bite crisp. Trust me — paper towels soak up oil but also steam the crust, making it limp. I learned that the hard way!
Variations & Adaptations
This crispy pickle brined fried chicken sandwich recipe is versatile, so you can switch things up depending on what you have or crave.
- Spicy Kick: Add cayenne pepper or hot paprika to the flour mixture, or top the sandwich with a drizzle of hot honey or a spicy aioli for some heat.
- Gluten-Free: Use almond flour or a gluten-free flour blend instead of all-purpose flour. The texture will be a little different but still delicious.
- Dairy-Free: Replace buttermilk with almond or coconut milk mixed with a splash of apple cider vinegar. Use an egg substitute like flaxseed meal mixed with water.
- Sandwich Style: Swap out the classic bun for a lettuce wrap for a low-carb option, or use a pretzel bun for extra flavor and chew.
- Cheese Lover’s Version: Add a melted slice of pepper jack or sharp cheddar cheese on top of the chicken while it’s still hot. I once paired this with a creamy custard toast recipe for a brunch twist you might like.
One of my favorite twists was adding a quick slaw with cabbage and a touch of lime juice on top for crunch and brightness — it’s a nod to Southern flavors and works perfectly alongside the pickle tang.
Serving & Storage Suggestions
This sandwich shines best served hot and fresh, with the crust still crackling under your teeth. Toasting the buns lightly adds a nice contrast in texture. I like pairing it with crisp pickles on the side and a cold drink — something like a classic lemonade or iced tea.
If you want to keep leftovers, wrap the chicken separately in foil and store in the fridge for up to 3 days. Reheat gently in a 350°F (175°C) oven on a wire rack for about 10 minutes to restore crispness. Avoid microwaving, which turns that glorious crust soggy.
Flavors deepen if you let the chicken sit for a few hours after frying, but the crust will soften. For serving, add fresh pickles and your favorite sauce just before eating to keep everything crisp and flavorful.
For a fun spin on side dishes, you might enjoy pairing this sandwich with crispy cheeseburger wraps or some easy, fresh salads like the green goddess salad for a lighter balance.
Nutritional Information & Benefits
This crispy pickle brined fried chicken sandwich is rich in protein, thanks to the chicken breast, and delivers a satisfying dose of flavor without relying on heavy sauces or extra fats. The pickle brine adds flavor without additional calories, and using moderate oil for frying keeps things balanced.
Estimated nutrition per sandwich:
| Nutrient | Amount |
|---|---|
| Calories | 550-600 kcal |
| Protein | 40 g |
| Fat | 25 g |
| Carbohydrates | 45 g |
| Sodium | 900 mg (mostly from brine and seasoning) |
Keep in mind, sodium can be adjusted by rinsing the chicken after brining if preferred. For those watching carbs, swapping the bun for a lettuce wrap lowers carbohydrate intake significantly. This recipe is not suitable for those with gluten allergies unless you use gluten-free flour alternatives, and obviously not for egg allergies without substitutions.
Conclusion
This crispy pickle brined fried chicken sandwich recipe has become one of those rare finds that checks all the boxes: juicy, flavorful, and irresistibly crunchy. It’s the kind of recipe you’ll want to make for casual dinners or to impress friends with minimal fuss. The pickle brine twist quietly transforms your typical fried chicken into something memorable and satisfying.
Feel free to customize the seasoning or toppings to suit your tastes — the recipe welcomes your personal touch. I love how this sandwich brings a little excitement to comfort food, and I hope it finds a special place on your table too. If you try it, I’d love to hear how you make it your own!
FAQs About Crispy Pickle Brined Fried Chicken Sandwich
How long should I brine the chicken in pickle juice?
Two to four hours is ideal. Less than two hours may not impart enough flavor, and over four can start to affect the texture of the meat.
Can I use pickle brine from sweet pickles instead of dill?
Yes, but the flavor will be sweeter and less tangy. Dill pickle brine is preferred for the classic savory tang.
What oil is best for frying the chicken?
Neutral oils with high smoke points like vegetable, peanut, or canola oil work best to achieve a crispy crust without burning.
Can I prepare the chicken in advance?
Absolutely. You can brine the chicken ahead of time and keep it refrigerated, then coat and fry just before serving for the best texture.
How can I make this sandwich spicy?
Add cayenne to the flour mix, top with spicy aioli, or drizzle with hot honey for a nice heat balance.
Pin This Recipe!
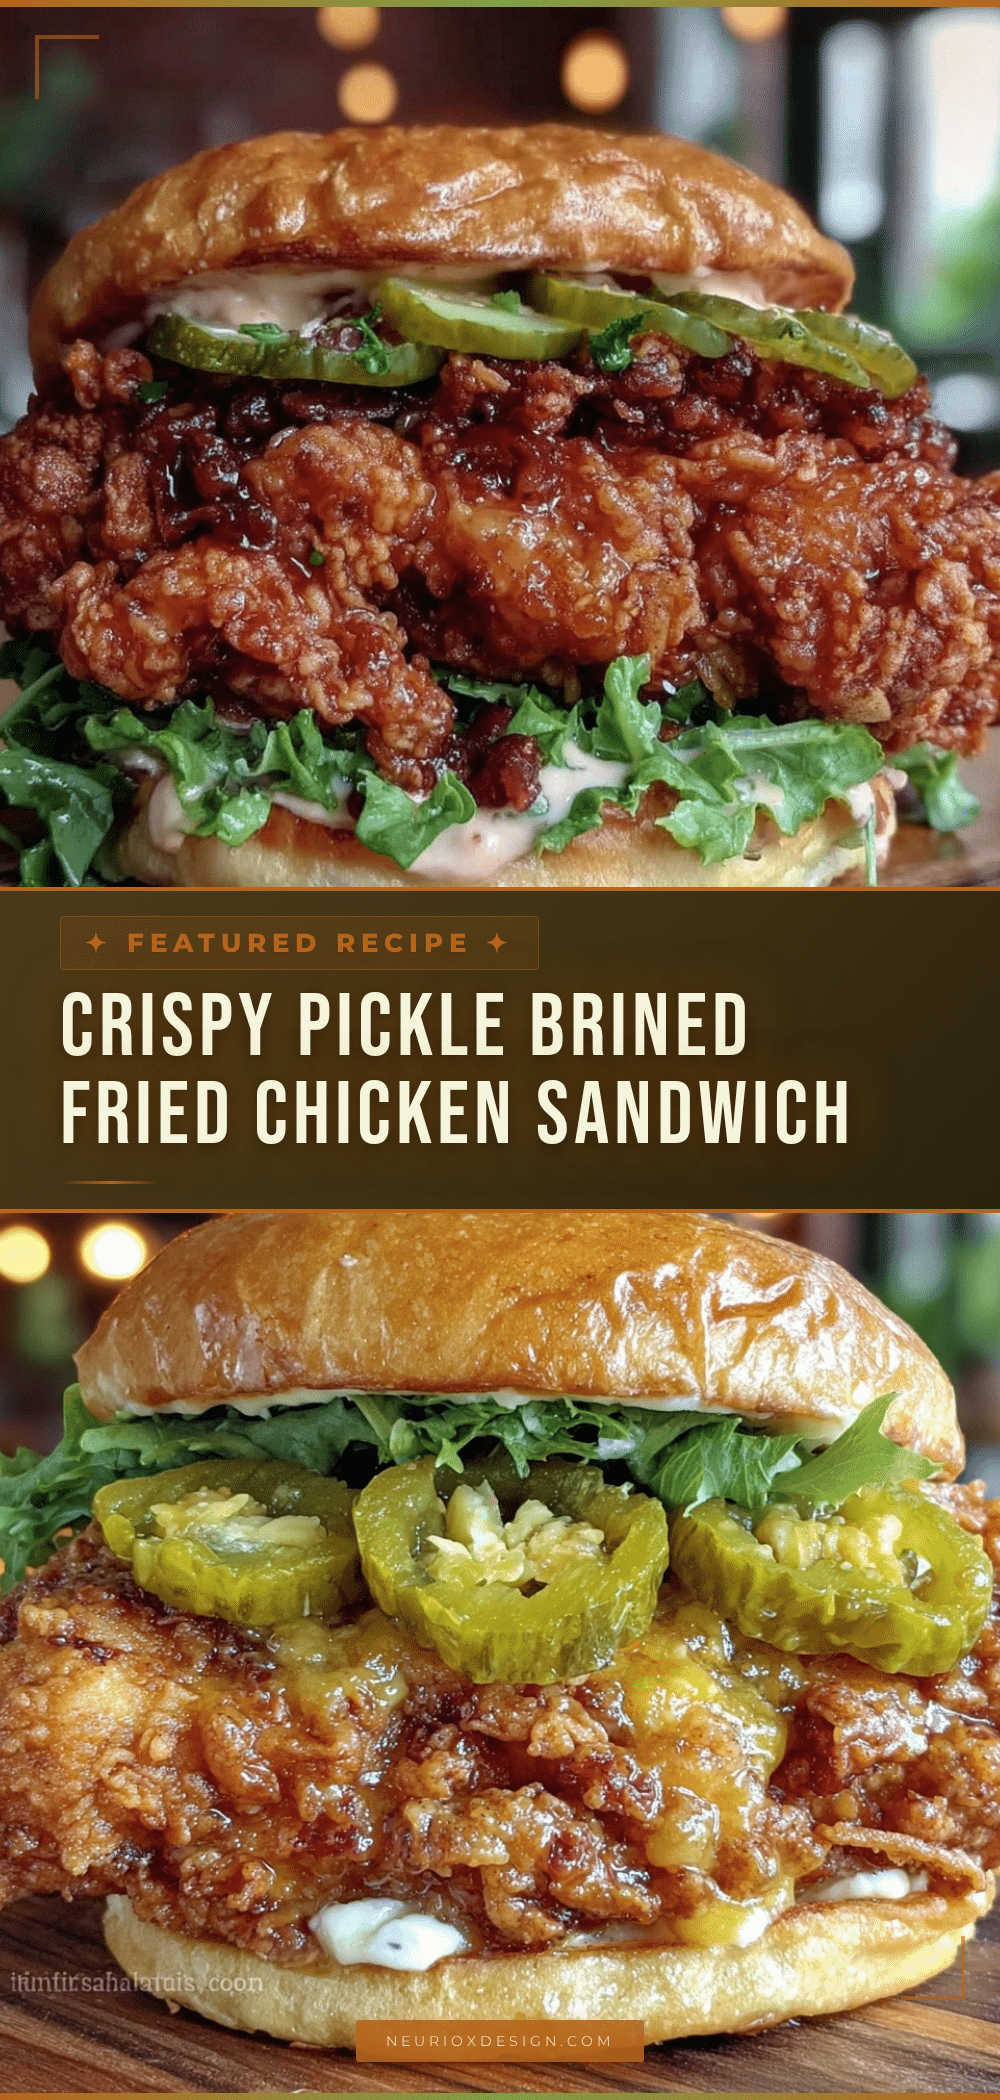

Crispy Pickle Brined Fried Chicken Sandwich
- Total Time: 2 hours 25 minutes to 4 hours 25 minutes
- Yield: 2 sandwiches 1x
Description
A juicy, tangy fried chicken sandwich brined in pickle juice for extra flavor and crispiness, perfect for quick and delicious weeknight meals.
Ingredients
- 2 large boneless, skinless chicken breasts (~1 lb or 450 g), halved horizontally if needed
- 1 cup (240 ml) dill pickle juice (preferably with garlic and dill)
- 1 cup (240 ml) buttermilk (or milk with 1 tsp lemon juice as substitute)
- 1 ½ cups (190 g) all-purpose flour
- ½ cup (60 g) cornstarch
- 1 tsp garlic powder
- 1 tsp onion powder
- 1 tsp smoked paprika
- 1 tsp salt
- 1 tsp black pepper
- 2 large eggs, beaten
- Sliced dill pickles for topping
- Soft brioche buns or potato rolls, lightly toasted
- Optional toppings: mayonnaise, spicy aioli, pepper jack or cheddar cheese slice
Instructions
- Place chicken breasts in a bowl or zip-top bag and pour 1 cup pickle juice over them. Cover and refrigerate for 2 to 4 hours.
- In one bowl, whisk together buttermilk and beaten eggs. In another bowl, combine flour, cornstarch, garlic powder, onion powder, smoked paprika, salt, and black pepper.
- Remove chicken from brine and pat dry with paper towels.
- Dip each chicken piece into the buttermilk-egg mixture, then dredge thoroughly in the seasoned flour mixture. Repeat dipping and dredging once more for extra crispiness.
- Heat about 1 inch of vegetable or peanut oil in a skillet to 350°F (175°C).
- Fry chicken pieces in hot oil for 4-5 minutes per side until golden brown and internal temperature reaches 165°F (74°C).
- Transfer fried chicken to a wire rack over a baking sheet and let rest for 5 minutes.
- Toast buns lightly. Spread mayonnaise or aioli, add fried chicken, then top with sliced dill pickles and optional spicy honey or chili crisp if desired.
Notes
Brine chicken for 2-4 hours to avoid mushy texture. Maintain oil temperature at 350°F to prevent greasy or burnt crust. Double dredging yields extra crispy crust. Use wire rack to drain chicken to keep crust crisp. For gluten-free, substitute flour with almond or gluten-free flour blend. For dairy-free, replace buttermilk with almond or coconut milk plus apple cider vinegar and use egg substitutes.
- Prep Time: 10 minutes (plus 2-4 hours brining)
- Cook Time: 15 minutes
- Category: Main Course
- Cuisine: American
Nutrition
- Serving Size: 1 sandwich
- Calories: 550600
- Sodium: 900
- Fat: 25
- Carbohydrates: 45
- Protein: 40
Keywords: fried chicken sandwich, pickle brined chicken, crispy fried chicken, homemade chicken sandwich, quick dinner, easy recipe
