
“Is this really going to hold up?” I muttered under my breath as I carefully spooned the glossy meringue mixture onto the baking sheet, a bit skeptical if this delicate dessert would survive the heat and the enthusiastic hands of my family on the Fourth of July. I’d never made a pavlova before, let alone one decked out in patriotic colors. Honestly, I thought it might be one of those fussy desserts better left to fancy restaurants. But that summer evening, with the grill smoking in the background and kids chasing sparklers in the yard, I gave it a go.
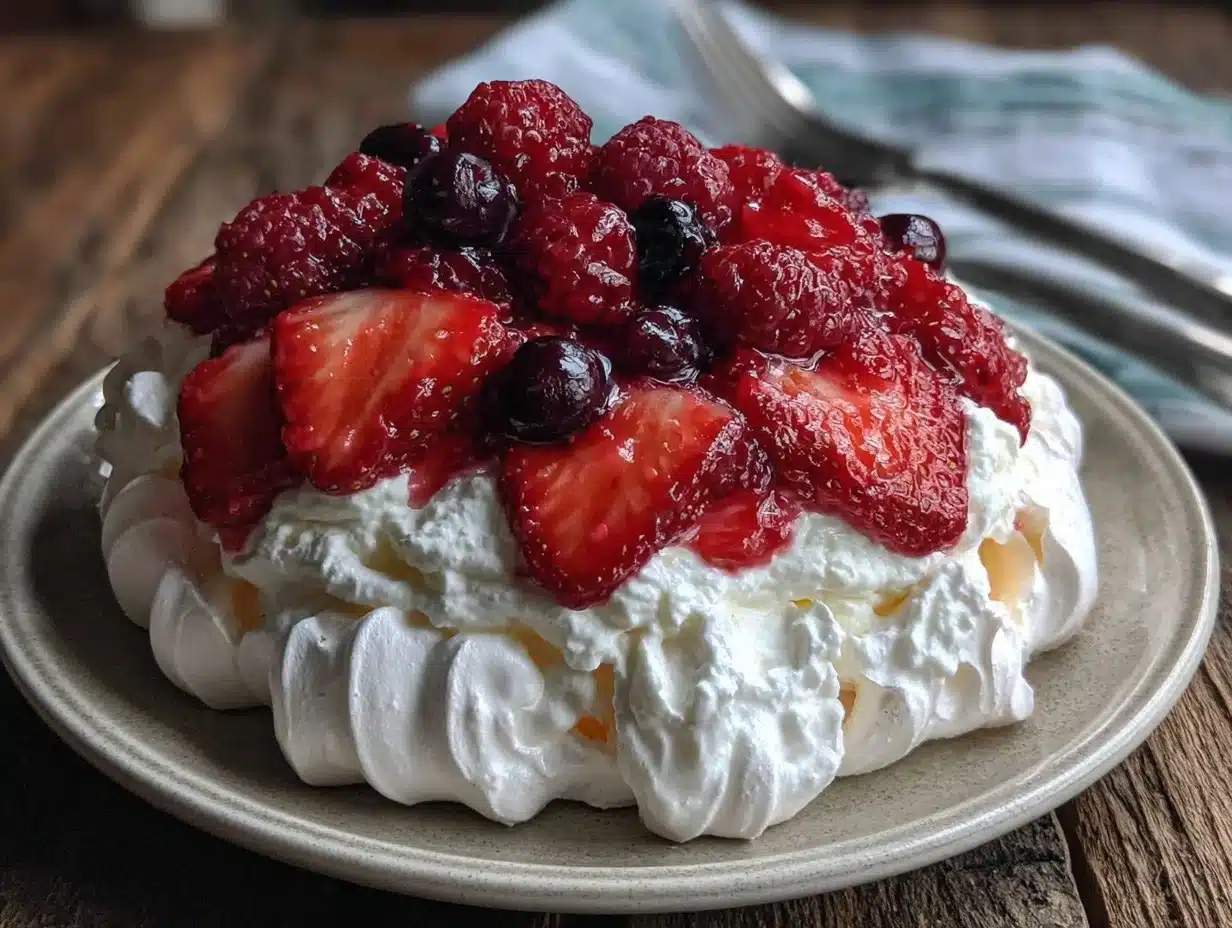
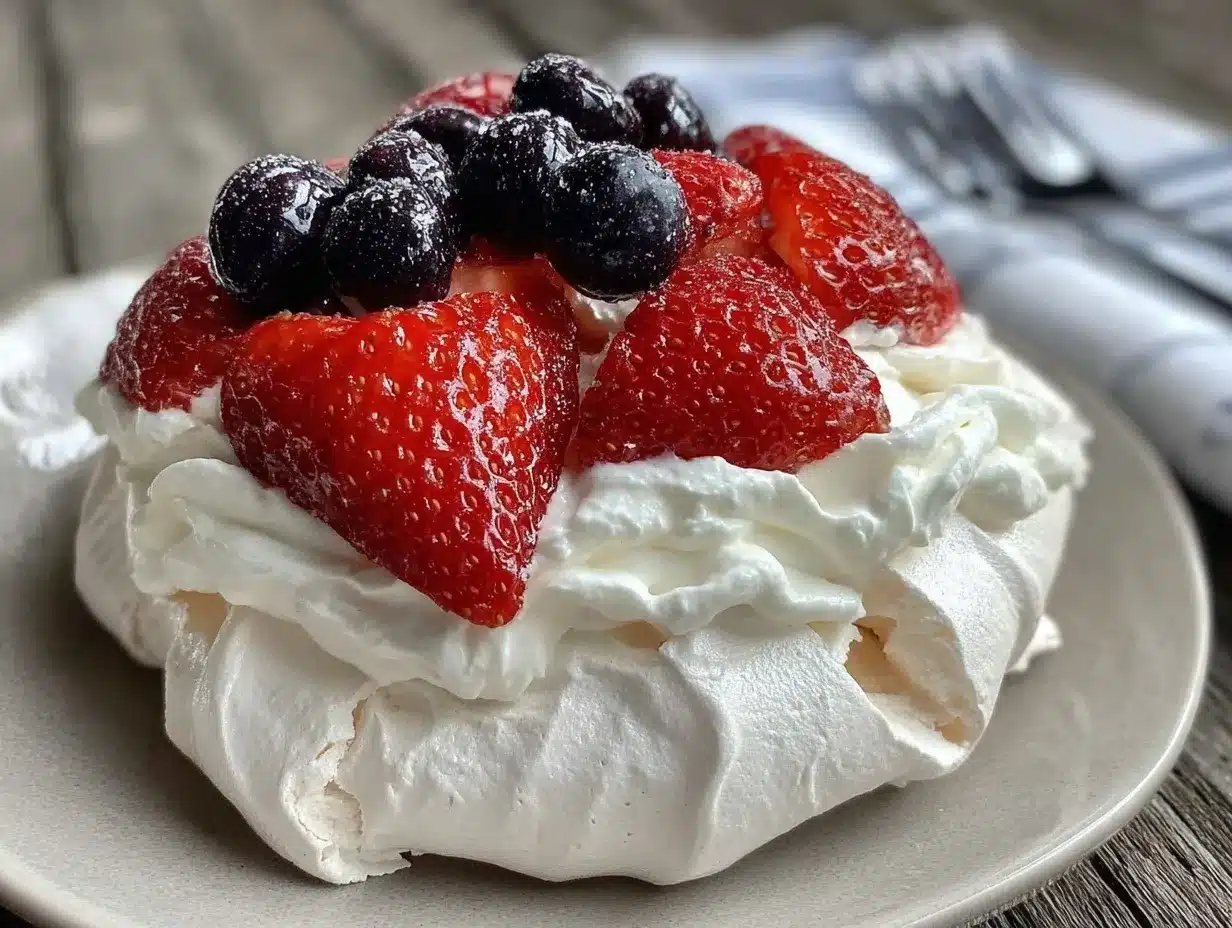
The smell of the meringue baking—sweet, slightly toasted—wafted through the kitchen, blending with the scent of fresh berries I was washing. The vibrant reds and blues of strawberries and blueberries contrasted beautifully against the snowy white whipped cream. It wasn’t just a dessert; it felt like a little celebration on a plate. By the time we all gathered around the picnic table under string lights, everyone was asking for seconds. That’s when I realized this Easy Red White and Blue Pavlova Delight wasn’t just a pretty face—it was a keeper.
Since then, this recipe has become a staple in my summer repertoire. It’s the kind of dessert that feels special without the stress, perfect for those long, lazy afternoons when you want to impress but also keep things simple. The light crunch giving way to marshmallow-soft inside, topped with fresh cream and juicy berries, well, it’s a little moment of joy you don’t want to rush through. This pavlova ended up turning a chaotic holiday around, bringing everyone together with smiles and sticky fingers. I guess sometimes the simplest desserts make the biggest memories.
Why You’ll Love This Recipe
This Easy Red White and Blue Pavlova Delight has quickly become one of my favorite go-to desserts for summer gatherings. After testing countless meringue recipes and berry combinations, I finally landed on this version that balances flavor, texture, and ease perfectly. Whether you’re hosting a picnic, a barbecue, or just craving something sweet and light, this pavlova fits the bill.
- Quick & Easy: You can whip up this dessert in about 30 minutes, with just over an hour baking time—ideal for last-minute celebrations or unexpected guests.
- Simple Ingredients: No need to hunt down obscure products; this recipe uses pantry basics like egg whites and sugar, plus fresh berries you can find anywhere.
- Perfect for Fourth of July: The patriotic colors make it a no-fuss showstopper for Independence Day or any summer festivity.
- Crowd-Pleaser: Kids, adults, and even skeptical meringue haters have all fallen in love with the light, airy texture and fresh fruit topping.
- Unbelievably Delicious: That crispy shell with a soft, marshmallow-like center is pure magic—trust me, every bite leaves you wanting more.
What makes this recipe stand out is the way the meringue is perfectly balanced—not too sweet, with a slight tang from a hint of vinegar and cornstarch that keeps it stable and chewy inside. The whipped cream is lightly sweetened, letting the natural flavors of the berries shine through. Plus, the red, white, and blue theme isn’t just for show—it’s a playful way to celebrate with food that tastes as good as it looks.
After making this pavlova several times, I can say it’s a dessert that feels special but never intimidating. It’s like the fluffy rainbow pancake stacks of the dessert world—colorful, fun, and utterly satisfying without a ton of fuss.
What Ingredients You Will Need
This Easy Red White and Blue Pavlova Delight uses simple, wholesome ingredients to deliver bold flavor and satisfying texture without the fuss. Most of these are pantry staples, with fresh berries to add that seasonal pop. You can easily swap or omit ingredients if needed, making it a flexible recipe for any kitchen.
- For the Meringue:
- 4 large egg whites, room temperature (room temp whites whip better)
- 1 cup (200g) granulated sugar (I prefer caster sugar for a smoother texture)
- 1 teaspoon white vinegar (helps stabilize the meringue)
- 2 teaspoons cornstarch (adds that signature marshmallow center)
- 1/2 teaspoon vanilla extract (pure vanilla gives the best flavor)
- For the Topping:
- 1 cup (240ml) heavy whipping cream, cold (or coconut cream for dairy-free)
- 2 tablespoons powdered sugar (adjust to taste)
- 1 teaspoon vanilla extract
- For the Red, White, and Blue Garnish:
- 1 cup fresh strawberries, hulled and sliced (choose ripe, firm berries)
- 1 cup fresh blueberries, washed and drained
- Optional: fresh mint leaves for garnish
If fresh berries aren’t in season, frozen berries work well too—just thaw and drain them well to avoid sogginess. For a twist, you can swap strawberries with raspberries or blackberries to mix up the red hues. I’ve found that using stable brands of cornstarch like Argo gives the best texture, but any good-quality brand works fine.
Equipment Needed
- Electric mixer or stand mixer with a whisk attachment (whipping egg whites by hand is possible but a workout!)
- Baking sheet lined with parchment paper or a silicone baking mat (for easy cleanup and non-stick)
- Mixing bowls (preferably glass or metal for whipping egg whites)
- Rubber spatula for folding ingredients gently
- Measuring cups and spoons
- Optional: piping bag and tip if you want to create a neat meringue shape
If you don’t have a stand mixer, a good hand mixer will do the job just fine. I once tried this with a whisk and, well, I ended up with sore arms and not nearly as stiff peaks, so I recommend mechanical help unless you’re feeling ambitious. For shaping the pavlova, freehand spooning works well and adds a rustic charm. Parchment paper is a must—trust me on this one—because the meringue sticks like glue without it.
Preparation Method
- Preheat your oven to 250°F (120°C). Line a baking sheet with parchment paper and draw a 7-inch (18 cm) circle on the back to guide your meringue shape.
- Whip the egg whites: In a clean, dry bowl, beat the egg whites on medium speed until soft peaks form (about 2-3 minutes). This means when you lift the whisk, the peaks should gently flop over.
- Add sugar gradually: Increase the mixer speed to high and add the granulated sugar one tablespoon at a time, waiting for it to dissolve before adding the next. This slow addition is key to a glossy, stable meringue and can take 5-7 minutes.
- Test for sugar dissolving: Rub a little meringue between your fingers; it should feel smooth, not gritty. If it’s gritty, keep beating.
- Fold in the stabilizers: In a small bowl, mix vinegar, cornstarch, and vanilla extract. Gently fold this mixture into the meringue with a rubber spatula, being careful not to deflate the air you worked so hard to build.
- Shape the pavlova: Spoon the meringue onto the circle you drew on the parchment paper, building up the edges slightly to create a shallow bowl shape that will hold your cream and berries.
- Bake low and slow: Place the meringue in the preheated oven and bake for 1 hour 15 minutes. Avoid opening the oven during baking to prevent cracks.
- Cool in the oven: After baking, turn the oven off and leave the pavlova inside with the door slightly ajar until completely cool. This helps prevent cracks and keeps the center soft.
- Whip the cream: Just before serving, beat the cold heavy cream with powdered sugar and vanilla until soft peaks form.
- Assemble: Spoon the whipped cream into the pavlova’s center, then top generously with strawberries and blueberries. Garnish with fresh mint if you like.
Pro tip: Resist the urge to assemble the pavlova too early. It’s best eaten the day it’s made, so whip the cream and add berries right before serving for that perfect texture contrast. If you notice cracks in your meringue, don’t stress—they add character and don’t affect taste.
Cooking Tips & Techniques
Getting that perfect pavlova can seem tricky at first, but a few tricks make all the difference. First, patience with the sugar addition is your best friend. Dumping sugar all at once usually leads to a grainy or weepy meringue. Take your time to get a glossy, stiff peak consistency.
Also, the vinegar and cornstarch combo might sound odd, but it really stabilizes the meringue and keeps the center soft and marshmallowy while the outside crisps. I learned this the hard way after my first cracked, dry pavlova—that was a bummer! So don’t skip these ingredients.
Temperature control is crucial. Baking low and slow at 250°F (120°C) is what gives pavlova its signature texture. Cranking up the heat makes the outside brown too fast or crack. Leaving the oven door slightly open to cool the pavlova helps prevent sudden temperature shifts that can cause splits.
If you want neat edges, a piping bag helps, but honestly, spooning the meringue on with rustic swirls adds charm. For a fuss-free version, you can make mini pavlovas on a baking sheet, which also reduce baking time.
Lastly, never make pavlova on a humid day if you can avoid it—moisture in the air can make your meringue sticky and less crisp. If it’s humid, try baking early in the morning or late at night.
Variations & Adaptations
This pavlova recipe is pretty versatile, so you can customize it based on your preferences or dietary needs. Here are a few ideas I’ve tried or heard about:
- Gluten-Free & Dairy-Free: The pavlova itself is naturally gluten-free. For a dairy-free version, swap heavy cream for chilled coconut cream whipped with a little powdered sugar.
- Seasonal Fruit Swap: Instead of strawberries and blueberries, try kiwi and mango for a tropical vibe or fresh peaches and raspberries in late summer.
- Chocolate Drizzle: For a richer twist, drizzle melted dark chocolate or a raspberry coulis over the assembled pavlova. It adds a fancy touch perfect for special occasions.
- Mini Pavlovas: Make individual-sized pavlovas on a baking sheet for easier serving and portion control. Just reduce baking time to about 45-50 minutes.
- Flavor Boost: Add a teaspoon of lemon or orange zest to the meringue for a subtle citrus note that pairs beautifully with the berries.
One variation I love is the chocolate-covered strawberry scone sandwiches from this recipe. Combining that with a pavlova feels like a berry lover’s dream spread. It’s fun to mix and match desserts for a party!
Serving & Storage Suggestions
Serve your Easy Red White and Blue Pavlova Delight fresh and at room temperature for the best flavor and texture. The contrast between the crisp shell and the soft inside is what makes this dessert so special, and cold pavlova can lose that magic.
Presentation-wise, I like to serve it on a large white platter to really let the red, white, and blue colors pop. A few extra berries scattered around the plate add a festive touch. Pair it with a refreshing lemonade or iced tea to balance the sweetness.
If you have leftovers (which is rare!), store the pavlova base separately from the cream and berries in an airtight container at room temperature for up to 2 days. Once assembled, it’s best eaten immediately, but you can refrigerate leftovers for up to 24 hours—expect the shell to soften.
Reheat pavlova? Nope, it’s best fresh. But if you want to prep ahead, make the meringue base a day before and store it in an airtight container. Whip and add toppings just before serving. Flavors actually develop nicely overnight in the fridge for the cream and fruit.
Nutritional Information & Benefits
This dessert is a relatively light treat compared to heavier cakes or pies. The meringue is mostly egg whites and sugar, making it low in fat but high in simple carbs, so moderation is key. The fresh berries add valuable antioxidants, vitamins C and K, and fiber, bringing a fresh, healthy element to the plate.
Heavy cream adds richness and fat, but you can control sweetness and portion size easily with this recipe. Using coconut cream is a great alternative for those avoiding dairy or seeking a plant-based option.
This pavlova fits nicely into gluten-free diets since it contains no flour, and it’s naturally egg-based protein rich. Just be mindful of sugar content if you’re managing blood sugar levels.
Conclusion
In the end, this Easy Red White and Blue Pavlova Delight is more than just a dessert—it’s a way to bring a little sparkle to summer celebrations without the stress. It’s approachable enough for a busy cook but impressive enough to make you feel like you nailed it. The freshness of the berries, the light cream, and the dreamy meringue texture come together to create a treat that you’ll want to make again and again.
Feel free to tweak the toppings or try a mini version to suit your style. I love how this recipe has become a staple in my summer gatherings, reminding me that sometimes, the simplest things can make the sweetest memories. If you’re curious about other fun and colorful desserts, you might enjoy the fluffy Dr. Seuss rainbow pancake stacks as a bright brunch idea to pair with your pavlova celebrations.
Give it a try, share your tweaks, or just enjoy that first bite quietly—it’s worth savoring.
Frequently Asked Questions
Can I make the pavlova ahead of time?
You can bake the meringue base a day ahead and store it in an airtight container at room temperature. Add the whipped cream and fresh berries right before serving for best results.
What causes pavlova to crack?
Cracking can happen if the oven temperature is too high or if the pavlova cools too quickly. Baking low and slow and letting it cool gradually in the oven with the door slightly open helps prevent cracks.
Can I use frozen berries for the topping?
Yes, but thaw and drain them well to avoid excess moisture making the pavlova soggy. Fresh berries are best if you can get them.
How do I know when the meringue sugar is fully dissolved?
Rub a bit of the meringue between your fingers; it should feel smooth without any grittiness. If it’s gritty, keep beating for a few more minutes.
Is this recipe suitable for vegans?
This pavlova uses egg whites, so it’s not vegan. However, you can try aquafaba (chickpea water) as a vegan egg white substitute, but results may vary.
Pin This Recipe!
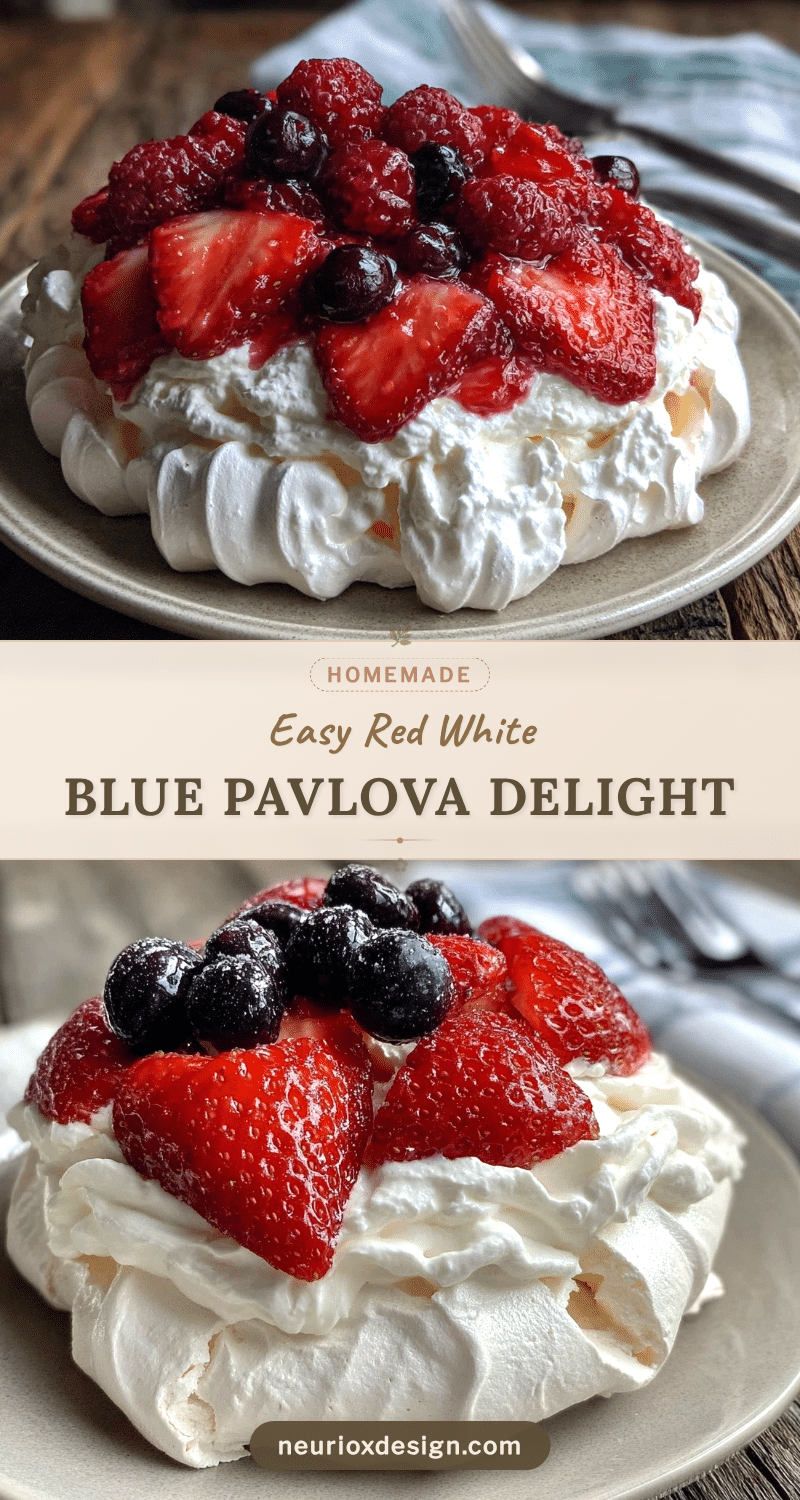
Easy Red White and Blue Pavlova Delight
- Total Time: 1 hour 30 minutes
- Yield: 8 servings 1x
Description
A light and airy pavlova dessert topped with fresh strawberries, blueberries, and whipped cream, perfect for Fourth of July celebrations or any summer gathering.
Ingredients
- 4 large egg whites, room temperature
- 1 cup (200g) granulated sugar (caster sugar preferred)
- 1 teaspoon white vinegar
- 2 teaspoons cornstarch
- 1/2 teaspoon vanilla extract
- 1 cup (240ml) heavy whipping cream, cold (or coconut cream for dairy-free)
- 2 tablespoons powdered sugar
- 1 teaspoon vanilla extract
- 1 cup fresh strawberries, hulled and sliced
- 1 cup fresh blueberries, washed and drained
- Optional: fresh mint leaves for garnish
Instructions
- Preheat your oven to 250°F (120°C). Line a baking sheet with parchment paper and draw a 7-inch (18 cm) circle on the back to guide your meringue shape.
- In a clean, dry bowl, beat the egg whites on medium speed until soft peaks form (about 2-3 minutes).
- Increase the mixer speed to high and add the granulated sugar one tablespoon at a time, waiting for it to dissolve before adding the next (5-7 minutes).
- Rub a little meringue between your fingers; it should feel smooth, not gritty. If it’s gritty, keep beating.
- In a small bowl, mix vinegar, cornstarch, and vanilla extract. Gently fold this mixture into the meringue with a rubber spatula, being careful not to deflate the air.
- Spoon the meringue onto the circle drawn on the parchment paper, building up the edges slightly to create a shallow bowl shape.
- Bake the meringue in the preheated oven for 1 hour 15 minutes. Avoid opening the oven during baking.
- Turn the oven off and leave the pavlova inside with the door slightly ajar until completely cool.
- Just before serving, beat the cold heavy cream with powdered sugar and vanilla until soft peaks form.
- Spoon the whipped cream into the pavlova’s center, then top generously with strawberries and blueberries. Garnish with fresh mint if desired.
Notes
Add sugar gradually to ensure a glossy, stable meringue. Bake low and slow at 250°F to avoid cracks. Cool pavlova in the oven with door ajar to prevent sudden temperature changes. Assemble just before serving for best texture. Avoid making on humid days. Frozen berries can be used if thawed and drained well.
- Prep Time: 15 minutes
- Cook Time: 1 hour 15 minutes
- Category: Dessert
- Cuisine: Australian/New Zealand
Nutrition
- Serving Size: 1 slice (approximate
- Calories: 210
- Sugar: 16
- Sodium: 50
- Fat: 14
- Saturated Fat: 8
- Carbohydrates: 18
- Fiber: 2
- Protein: 3
Keywords: pavlova, Fourth of July dessert, meringue, red white and blue dessert, summer dessert, berry pavlova, easy pavlova recipe
