
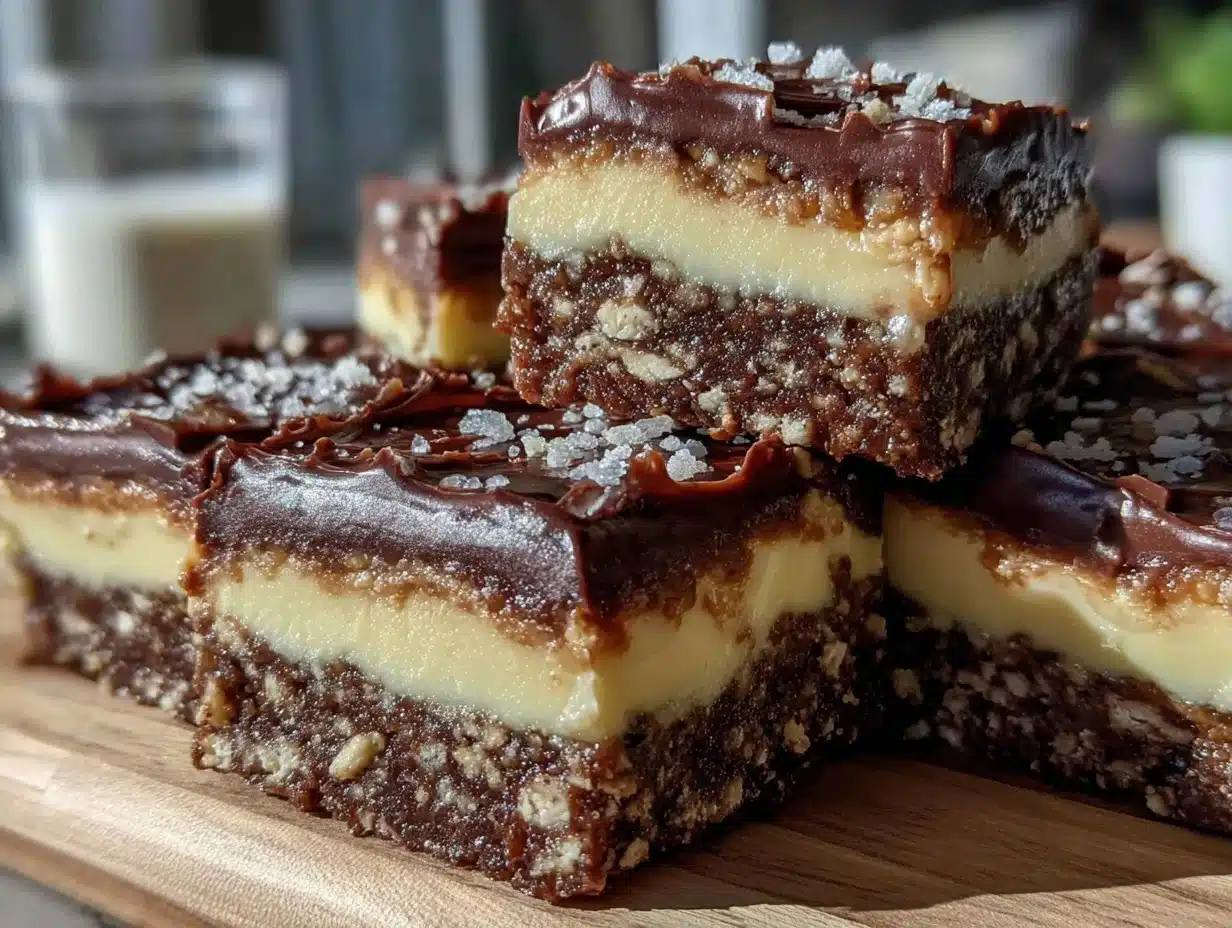
“Can you believe this came out of a baking blunder?” my friend asked, eyebrows raised as she eyed the glossy, layered squares cooling on my kitchen counter. Honestly, I wasn’t sure myself. I had been trying to whip up a quick no-bake treat for a last-minute housewarming party, but with only a handful of pantry staples and zero time to fuss, I threw together what felt like a wild combo: a crumbly base, a silky custard middle, and a glossy chocolate top. The result? Classic homemade Nanaimo bars with creamy layers that stole the show — and a new favorite recipe that stuck around way longer than expected.
That first batch was a little rough around the edges (the custard layer was thicker than planned, and the chocolate top cracked here and there), but the flavors? Spot on. Since then, I’ve made Nanaimo bars at least half a dozen times, tweaking the layers until they’re just right — creamy, smooth, and perfectly balanced. It’s funny how something that began as a rushed experiment slowly turned into a dessert I reach for when I want to impress, relax, or simply indulge. The buttery base with shredded coconut, the sweet custard filling, and the final chocolate layer all come together in a way that feels both nostalgic and special.
Every time I slice into these bars, I’m reminded of cozy afternoons catching up with friends over coffee, or the quiet satisfaction after a long day when a simple dessert feels like a small celebration. If you’re curious about Nanaimo bars but shy away from complicated desserts, this version is for you — classic, creamy, and surprisingly easy to pull off without a fuss. Plus, if you’re a fan of layered treats like the Dubai chocolate bar with pistachio knafeh, you’ll appreciate the textural contrast and rich flavors here.
So here’s the quiet little secret: Nanaimo bars don’t have to be intimidating or time-consuming. With the right approach, they become that dependable, crowd-pleasing dessert that feels homemade in the best way possible.
Why You’ll Love This Recipe
After fine-tuning this classic homemade Nanaimo bars recipe over several weeks, I can honestly say it’s one of the most rewarding desserts to make from scratch. The creamy layers come together easily, and the flavors are just right — not too sweet, with a nice balance of textures. Here’s why this is going to be your go-to recipe:
- Quick & Easy: You can have these bars ready in under 45 minutes of active prep time, with no baking required. Perfect for those busy evenings or unexpected guests.
- Simple Ingredients: Most of the ingredients are pantry staples or easy to find — like graham cracker crumbs, coconut, butter, and custard powder. No need for special trips to the store.
- Perfect for Parties: Whether it’s a holiday gathering, potluck, or just a casual coffee date with friends, these Nanaimo bars always get rave reviews.
- Crowd-Pleaser: Kids and adults alike love the creamy, sweet layers paired with a crunchy base. It’s the kind of dessert that disappears fast.
- Unbelievably Delicious: The custard layer is silky smooth, and the rich chocolate topping has just the right snap. It’s comfort food that hits the spot every time.
This isn’t just any Nanaimo bars recipe — I’ve blended the traditional custard layer with a creamy texture that’s smoother than most store-bought versions. Plus, the chocolate topping melts in your mouth instead of cracking like a brick, thanks to a little trick I picked up after a few attempts. Honestly, it’s the kind of dessert that makes you pause after the first bite and think, “Yep, this is worth every minute.”
And if you like desserts with a creamy twist, you might enjoy the mini cheesecake shooting board ideas I tried recently — they bring the same smooth, luscious vibe but in a fun, bite-sized format.
What Ingredients You Will Need
This recipe uses simple, wholesome ingredients to create bold flavors and satisfying textures without any fuss. Most of these are pantry staples, and you can find easy swaps if needed.
- For the Base:
- 1/2 cup (115g) unsalted butter, melted (adds richness and crispness)
- 1/4 cup (50g) granulated sugar
- 5 tbsp (40g) unsweetened cocoa powder (for that classic chocolatey depth)
- 1 large egg, beaten (room temperature for best binding)
- 1 3/4 cups (175g) graham cracker crumbs (I like Nabisco for best texture)
- 1 cup (75g) shredded unsweetened coconut (helps with chewiness)
- 1/2 cup (50g) chopped walnuts or pecans (optional, for crunch)
- For the Custard Layer:
- 1/2 cup (115g) unsalted butter, softened
- 2 cups (250g) powdered sugar, sifted (to avoid lumps)
- 2 tbsp (15g) vanilla custard powder (available in most grocery stores; adds authentic flavor)
- 3 tbsp (45ml) milk (whole milk preferred for creaminess; can use almond milk)
- For the Chocolate Topping:
- 4 oz (115g) semi-sweet chocolate chips or chopped chocolate
- 2 tbsp (30g) unsalted butter
If you want a gluten-free version, swap the graham cracker crumbs for almond flour or gluten-free cookie crumbs. For a dairy-free twist, try coconut oil instead of butter and a plant-based milk like oat or almond milk in the custard layer. I’ve found that using a good quality semi-sweet chocolate really makes the topping shine — Ghirardelli or Lindt works beautifully.
Equipment Needed
- 8×8-inch (20×20 cm) square baking pan: For shaping the bars. If you don’t have this, a similarly sized glass or metal pan works well.
- Mixing bowls: At least two — one for the base and one for the custard layer.
- Electric hand mixer or stand mixer: Highly recommended for whipping the custard layer smooth without lumps.
- Spatula and wooden spoon: For mixing and spreading the layers evenly.
- Measuring cups and spoons: To keep the ingredient ratios accurate.
- Microwave-safe bowl or double boiler: For melting the chocolate topping gently.
If you don’t have an electric mixer, a sturdy whisk and some patience can do the trick, though it’ll take a bit longer to get the custard layer fluffy. For budget-friendly options, many stores sell silicone spatulas and mixing bowls at reasonable prices that work just as well as pricier sets.
Preparation Method
- Prepare the base: In a medium bowl, whisk together the melted butter, granulated sugar, and cocoa powder until smooth. Add the beaten egg and mix quickly to combine — you want to avoid scrambling the egg, so stir thoroughly but gently. Stir in the graham cracker crumbs, shredded coconut, and chopped nuts (if using). The mixture should be thick but spreadable.
- Press the base into the pan: Line your 8×8-inch pan with parchment paper, leaving some overhang for easy removal later. Press the base mixture firmly and evenly into the bottom. Use the back of a spoon or your fingers to pack it down well. Chill in the refrigerator for 20 minutes to set.
- Make the custard layer: While the base chills, beat the softened butter in a large bowl until creamy (about 2 minutes). Gradually add the sifted powdered sugar, mixing on low speed to avoid clouds of sugar dust. Add the custard powder and milk, then increase speed to medium-high and whip until the mixture is smooth, creamy, and spreadable — about 3 to 4 minutes. If it feels too stiff, add a splash more milk, a teaspoon at a time.
- Spread the custard layer: Remove the base from the fridge and evenly spread the custard layer on top. Use a spatula to smooth it out completely. Return to the fridge for at least 30 minutes to firm up.
- Prepare the chocolate topping: In a microwave-safe bowl, combine the chocolate chips and butter. Heat in 20-second intervals, stirring well between each, until fully melted and smooth. Let cool slightly but not harden.
- Top the bars: Pour the chocolate over the chilled custard layer and spread quickly and evenly. Return the pan to the fridge for 1-2 hours until the chocolate is set and firm.
- Slice and serve: Use a sharp knife warmed under hot water and wiped dry before slicing to create clean edges. Cut into 12 bars and enjoy!
Quick tip: If the chocolate cracks when slicing, warming the knife between cuts helps keep the edges neat. Also, don’t skip chilling between layers — it’s key for those distinct, creamy strata.
Cooking Tips & Techniques
Getting Nanaimo bars just right can feel like a bit of an art, but with a few tricks up your sleeve, it’s a breeze.
- Room temperature ingredients: Butter and eggs should be at room temperature to blend smoothly, especially for the custard layer. Cold butter can cause lumps.
- Sift powdered sugar: To avoid gritty textures, always sift powdered sugar before mixing into the custard layer.
- Don’t overheat chocolate: Chocolate can seize if overheated. Melt slowly in short bursts or use a double boiler for gentle heat.
- Press the base firmly: This prevents the crumbly bottom from falling apart when you cut the bars.
- Patience with chilling: Each layer needs time to set — rushing this step can cause the layers to mix or the bars to crumble.
- Sharp knife for slicing: Warming the knife under hot water and drying it before each cut helps achieve clean slices without cracking.
From personal experience, I once skimmed on chilling time and ended up with a custard layer that oozed everywhere — lesson learned! Also, I tried substituting margarine for butter once and the texture was off. Butter’s richness really makes this recipe sing. If you’re pressed for time, you can chill for shorter periods, but the layers won’t be as distinct, so I’d recommend planning ahead if you can.
Variations & Adaptations
The beauty of Nanaimo bars is how adaptable they are. Here are some fun ways to put your own spin on this classic recipe:
- Mint Nanaimo Bars: Add 1/2 tsp peppermint extract to the custard layer and top with crushed peppermint candies for a festive touch.
- Peanut Butter Twist: Swirl 1/4 cup creamy peanut butter into the custard layer before spreading for a nutty surprise.
- Gluten-Free Version: Swap the graham cracker crumbs with almond flour or gluten-free cookie crumbs. Be sure to check custard powder ingredients if gluten is a concern.
- Vegan Adaptation: Use dairy-free butter and coconut milk in place of regular butter and milk. Replace the egg in the base with a flax egg (1 tbsp ground flaxseed + 3 tbsp water).
- Seasonal Fruit Layer: Add a thin layer of fresh raspberries or sliced strawberries between the custard and chocolate layers for a fruity surprise.
I once tried the mint version during a holiday party, and it disappeared so fast, I had to hide a few bars for myself! If you’re interested in other creamy desserts with a twist, the creamy cottage cheese ice cream recipe with honey and pistachios is a great summer treat with a similar rich mouthfeel.
Serving & Storage Suggestions
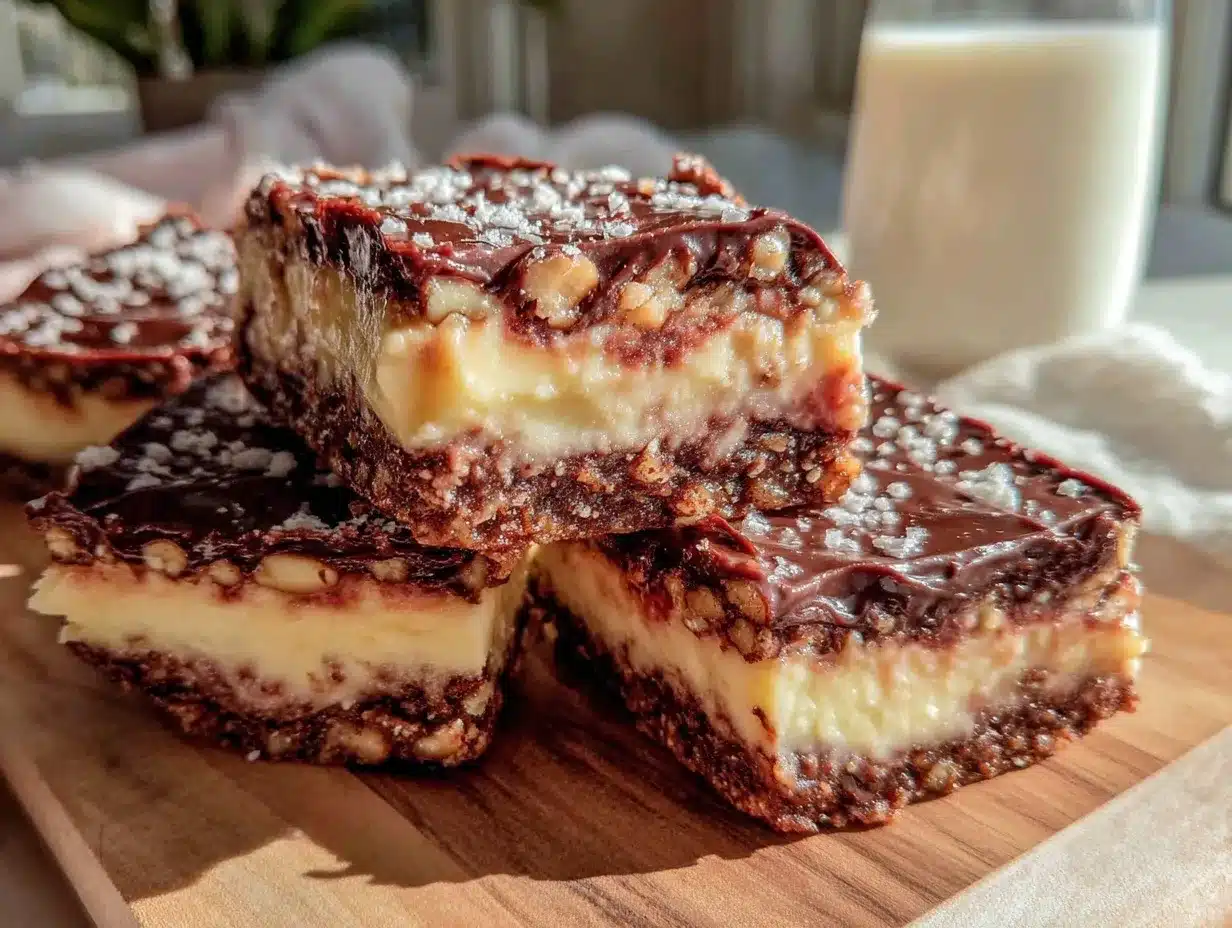
Classic homemade Nanaimo bars are best served chilled or at room temperature. The creamy layers soften slightly at room temp, making each bite melt in your mouth, but cold bars hold their shape beautifully and offer a lovely contrast in textures.
To present, slice into neat squares and arrange on a pretty plate or tiered dessert stand. They pair beautifully with a strong cup of coffee or a glass of cold milk — perfect for afternoon indulgences or after-dinner treats.
Store leftover bars in an airtight container in the refrigerator for up to 5 days. They keep well and the flavors actually deepen after a day or two. For longer storage, freeze the bars in a single layer on a baking sheet, then transfer to a freezer-safe container. They’ll keep for about 2 months. Thaw in the fridge overnight before serving.
When reheating, avoid the microwave as it can melt the chocolate unevenly. Instead, let the bars come to room temperature naturally. The layers will remain nicely defined, and the bars won’t lose their signature texture.
Nutritional Information & Benefits
Estimated per bar (based on 12 servings):
| Calories | Fat | Carbohydrates | Protein | Sugar |
|---|---|---|---|---|
| 280 kcal | 18g | 27g | 3g | 19g |
While Nanaimo bars are definitely a treat, they contain some beneficial ingredients like shredded coconut, which offers fiber and healthy fats, and walnuts (if added) that provide omega-3 fatty acids. The custard powder adds a bit of protein, and using real butter contributes to a satisfying richness.
For dietary considerations, this recipe can be adapted to gluten-free or vegan preferences as described earlier. Just be mindful of potential allergens such as nuts, dairy, and eggs when serving to guests.
From a wellness perspective, I find that enjoying these bars in moderation as part of a balanced diet feels rewarding without guilt — a sweet moment that’s both comforting and nostalgic.
Conclusion
Classic homemade Nanaimo bars with creamy layers have become one of those recipes I turn to when I want something that feels special but isn’t complicated. The buttery base, silky custard filling, and smooth chocolate topping come together to create a dessert that’s truly memorable. You can tweak and customize it depending on what you have on hand or what flavors you’re craving, making it a versatile crowd-pleaser.
Personally, I love how these bars bring a little bit of joy and indulgence to everyday moments — whether it’s a quiet afternoon or a lively gathering. If you try making them, I’d love to hear how you customize the layers or any tricks you discover along the way.
Don’t hesitate to share your experiences or favorite variations in the comments below. And if you enjoy creamy layered desserts, you might also appreciate the rich texture of the creamy custard toast I recently posted — it’s a fun breakfast twist with a similar custard vibe.
Happy baking and savor every creamy bite!
Frequently Asked Questions about Classic Homemade Nanaimo Bars
What is the best way to prevent the chocolate topping from cracking?
To avoid cracking, melt the chocolate and butter slowly and spread the topping evenly while it’s still warm but not hot. Also, chill the bars properly before slicing and warm your knife between cuts for clean edges.
Can I make Nanaimo bars ahead of time?
Absolutely! They actually taste better after resting in the fridge for several hours or overnight, which helps the layers set and the flavors meld.
Is there a substitute for custard powder?
If you can’t find custard powder, you can try using vanilla pudding mix or a mix of cornstarch with vanilla extract, but the flavor will be slightly different.
How do I make these bars gluten-free?
Simply replace the graham cracker crumbs with almond flour or gluten-free cookie crumbs, and ensure the custard powder is gluten-free. The rest of the recipe remains the same.
Can I freeze Nanaimo bars?
Yes, freeze them in a single layer on a baking sheet, then transfer to an airtight container. Thaw overnight in the fridge before serving for best texture.
Pin This Recipe!
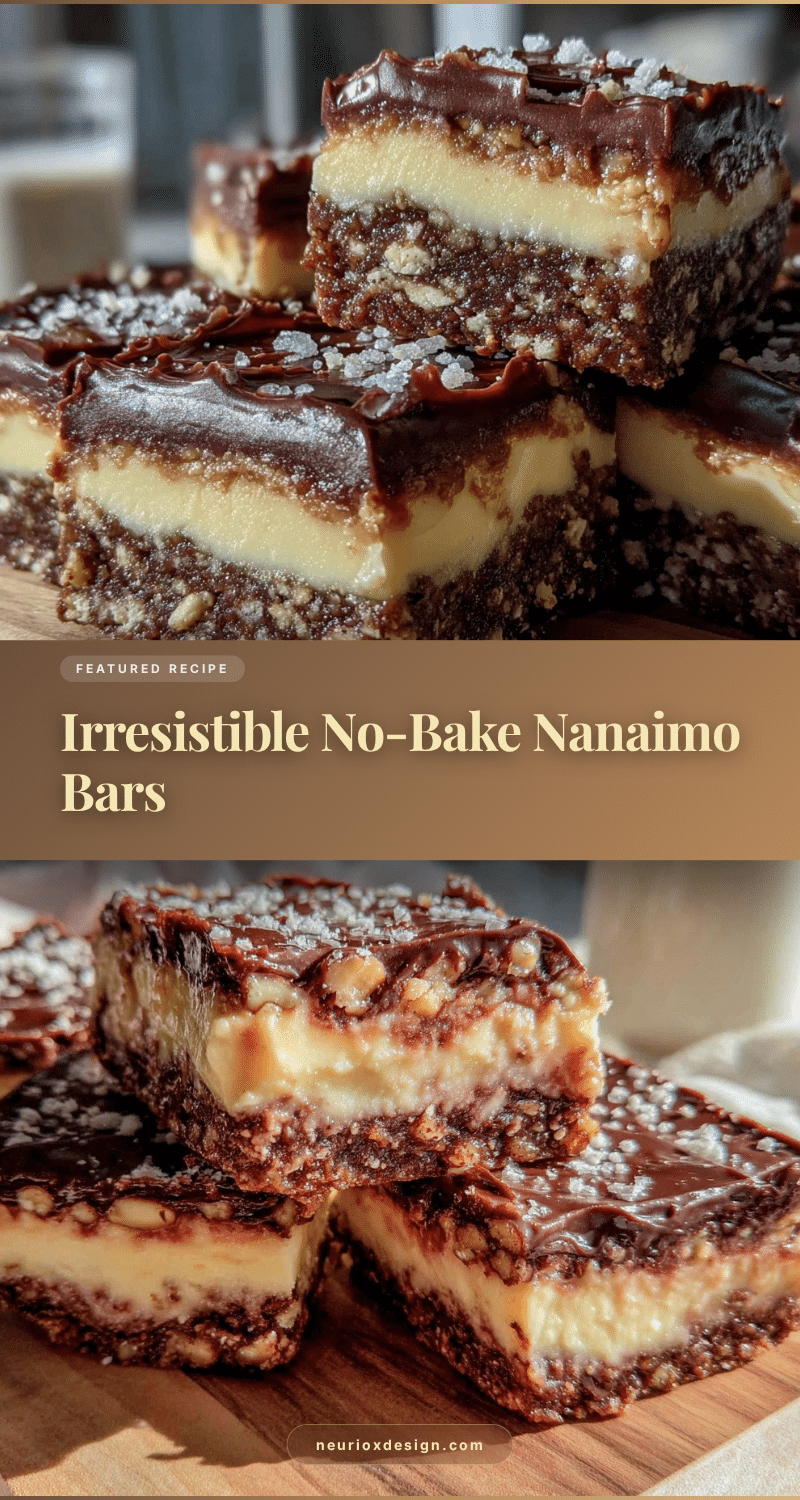

Classic Homemade Nanaimo Bars Recipe Easy 5-Layer Creamy Dessert
- Total Time: 2 hours 30 minutes
- Yield: 12 servings 1x
Description
A quick and easy no-bake dessert featuring a buttery base, silky custard middle, and glossy chocolate top. Perfect for parties and a nostalgic treat that’s creamy, smooth, and crowd-pleasing.
Ingredients
- 1/2 cup (115g) unsalted butter, melted
- 1/4 cup (50g) granulated sugar
- 5 tbsp (40g) unsweetened cocoa powder
- 1 large egg, beaten (room temperature)
- 1 3/4 cups (175g) graham cracker crumbs
- 1 cup (75g) shredded unsweetened coconut
- 1/2 cup (50g) chopped walnuts or pecans (optional)
- 1/2 cup (115g) unsalted butter, softened
- 2 cups (250g) powdered sugar, sifted
- 2 tbsp (15g) vanilla custard powder
- 3 tbsp (45ml) milk (whole milk preferred)
- 4 oz (115g) semi-sweet chocolate chips or chopped chocolate
- 2 tbsp (30g) unsalted butter
Instructions
- Prepare the base: In a medium bowl, whisk together melted butter, granulated sugar, and cocoa powder until smooth. Add beaten egg and mix quickly to combine. Stir in graham cracker crumbs, shredded coconut, and chopped nuts if using. Mixture should be thick but spreadable.
- Press the base into the pan: Line an 8×8-inch pan with parchment paper with overhang. Press base mixture firmly and evenly into bottom. Chill in refrigerator for 20 minutes to set.
- Make the custard layer: Beat softened butter in a large bowl until creamy (about 2 minutes). Gradually add sifted powdered sugar on low speed. Add custard powder and milk, then whip on medium-high speed until smooth and spreadable (3-4 minutes). Add more milk if too stiff.
- Spread the custard layer: Remove base from fridge and spread custard layer evenly on top. Smooth with spatula. Return to fridge for at least 30 minutes to firm up.
- Prepare the chocolate topping: In microwave-safe bowl, combine chocolate chips and butter. Heat in 20-second intervals, stirring between each, until melted and smooth. Let cool slightly but not harden.
- Top the bars: Pour chocolate over chilled custard layer and spread quickly and evenly. Return to fridge for 1-2 hours until chocolate is set and firm.
- Slice and serve: Use a sharp knife warmed under hot water and dried before slicing to create clean edges. Cut into 12 bars and enjoy.
Notes
Use room temperature butter and eggs for smooth blending. Sift powdered sugar to avoid lumps. Melt chocolate slowly to prevent seizing. Press base firmly to avoid crumbling. Chill each layer properly for distinct layers. Warm knife between cuts for clean slices.
- Prep Time: 30 minutes
- Cook Time: 0 minutes
- Category: Dessert
- Cuisine: Canadian
Nutrition
- Serving Size: 1 bar (1/12th of rec
- Calories: 280
- Sugar: 19
- Fat: 18
- Carbohydrates: 27
- Protein: 3
Keywords: Nanaimo bars, no-bake dessert, layered dessert, creamy custard, chocolate topping, easy dessert, party dessert
