

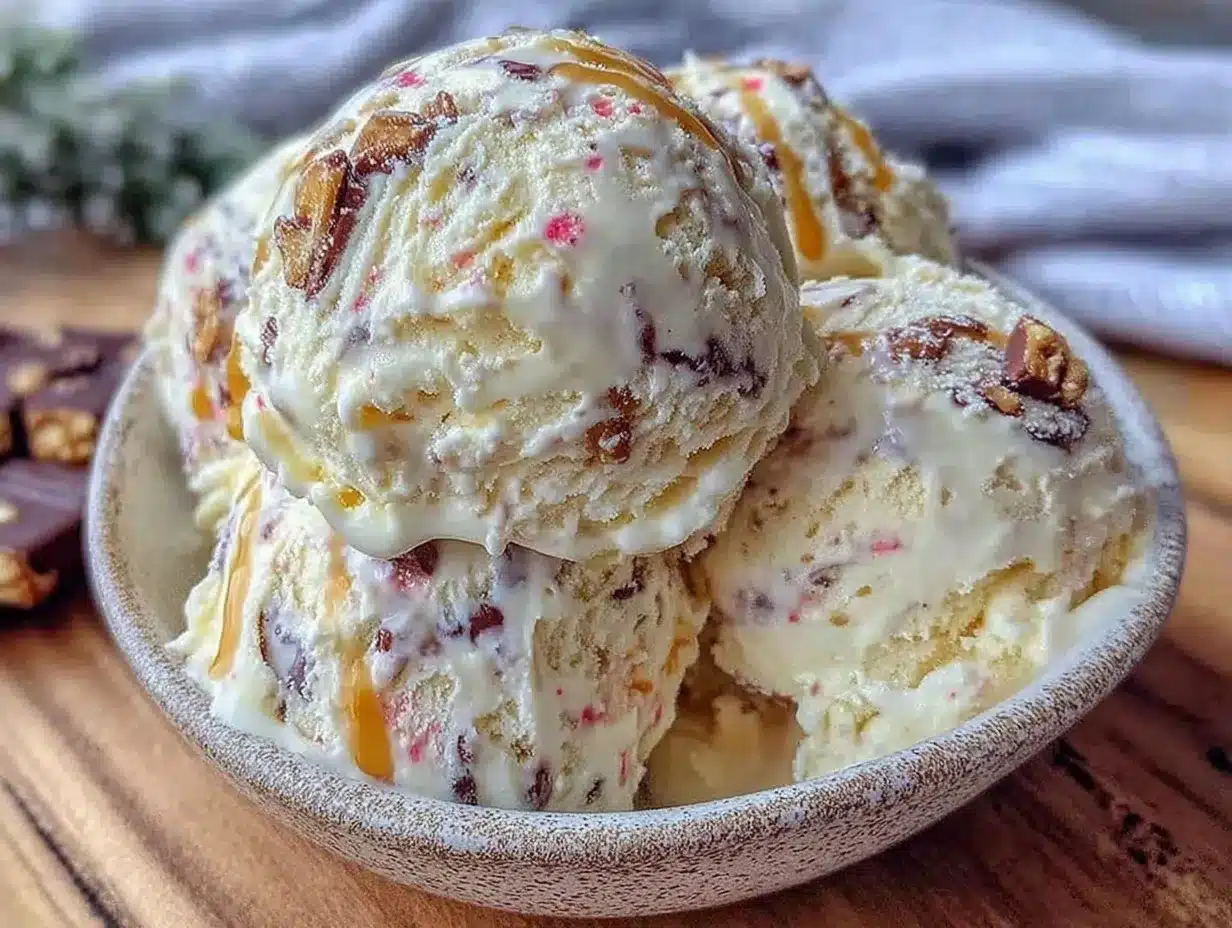
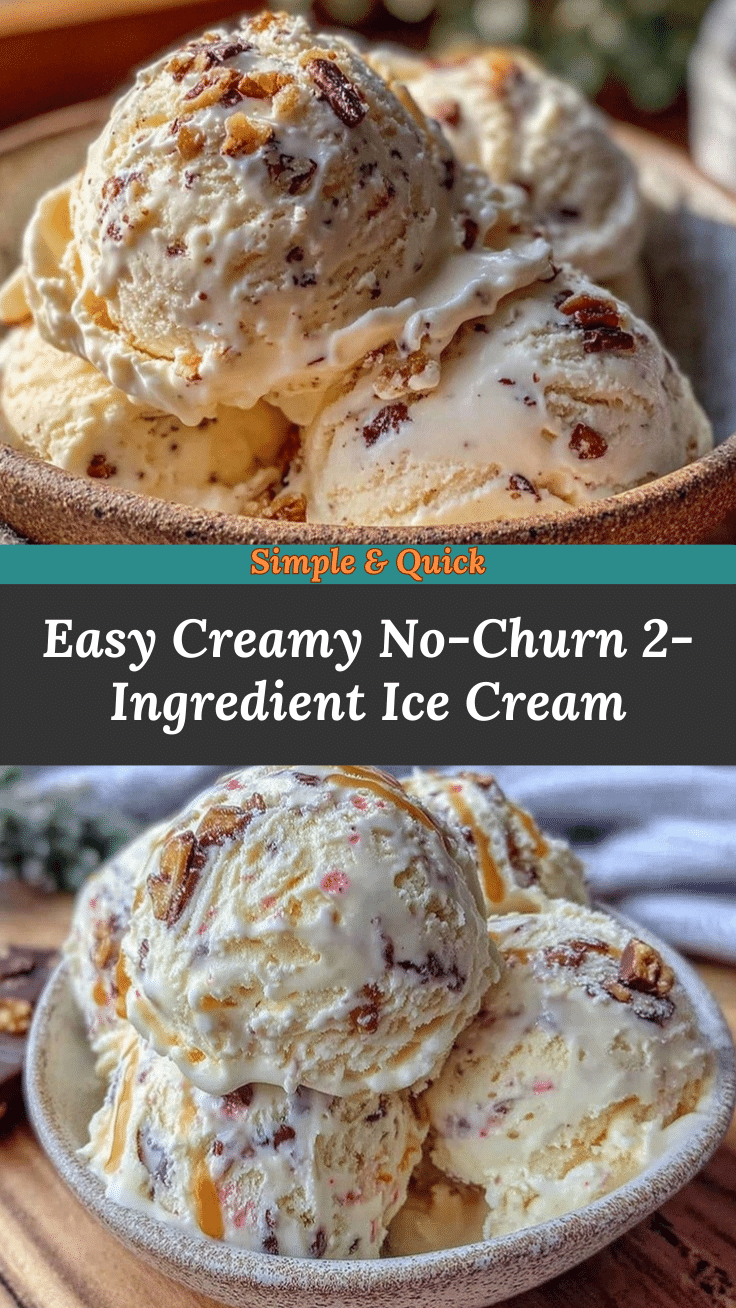
“You won’t believe this is homemade,” my friend Lisa said last weekend as she dug into a bowl of this easy creamy no-churn 2-ingredient ice cream. I have to admit, I was half-expecting a complicated mess when I first tried whipping it up late one Friday night. Honestly, I only had two ingredients on hand and zero freezer space for ice cream machines. But as I mixed together the heavy cream and sweetened condensed milk, something about the simplicity felt almost like magic.
The way the cold cream thickened while I whisked, and how the sweetness settled just right—well, let me tell you, I was hooked from the first spoonful. Maybe you’ve been there too: craving a cool, creamy treat but dreading the fuss. This recipe is the kind of no-fuss dessert that sneaks up on you with its rich texture and velvety flavor, without any fancy tools or long waits.
One night, I forgot to set a timer, and the ice cream froze a little too hard. But even then, it tasted amazing, and I just let it thaw a bit before scooping. That imperfect moment reminded me why this recipe stays in my rotation: it’s forgiving, fast, and just downright fun to make. So, if you’re ready to impress yourself with something delightfully simple yet indulgent, keep reading—this easy creamy no-churn 2-ingredient ice cream might just become your new go-to dessert.
Why You’ll Love This Recipe
Trust me, as someone who’s tried every complicated ice cream maker and gadget out there, this easy creamy no-churn 2-ingredient ice cream stands out for all the right reasons. It’s genuinely approachable, yet the results feel indulgent and satisfying.
- Quick & Easy: Comes together in under 10 minutes—perfect for when that sweet tooth hits hard and fast.
- Simple Ingredients: You only need heavy cream and sweetened condensed milk—no weird additives or mystery powders.
- Perfect for Any Occasion: Whether it’s a casual family dinner or an unexpected guest, this ice cream fits the bill.
- Crowd-Pleaser: Kids, adults, picky eaters—everyone seems to love the creamy texture and gentle sweetness.
- Unbelievably Delicious: The texture is silky smooth without the fuss of churning, and the flavor is rich but not overwhelming.
What makes this recipe different? It’s all about the balance and technique. The whipped cream’s airiness blends seamlessly with the condensed milk’s creamy sweetness, creating a soft yet scoopable texture that feels way more sophisticated than just mixing two ingredients. I’ve tried versions with extra stabilizers and they never match this simple method’s charm.
Honestly, it’s like comfort food in a bowl—without the guilt of hours spent in the kitchen or loading up on additives. Plus, it’s customizable, so you can add your own twist without losing that signature creamy base. This two-ingredient ice cream has become my secret weapon for quick desserts that look and taste like a treat from a fancy parlor.
What Ingredients You Will Need
This recipe uses just two simple ingredients, both of which play a key role in delivering that luscious texture and sweet flavor. They’re pantry staples for many, so you probably already have them. Here’s the rundown:
- Heavy Cream (or Heavy Whipping Cream) – 2 cups (480 ml): This is the magic behind the silky texture. I like to use brands like Organic Valley or Horizon for their rich fat content and fresh taste. Look for cream with at least 36% fat for best results.
- Sweetened Condensed Milk – 1 can (14 oz / 396 g): This adds the perfect sweetness and creaminess. Eagle Brand is a trusted classic, but you can also find dairy-free versions if needed. Just make sure it’s sweetened condensed milk, not evaporated milk, or the texture won’t be right.
Optional additions can be mixed in after whipping the base, like vanilla extract, cocoa powder, or fruit purees, but the two main ingredients are all you need for a rich, creamy ice cream that feels like a treat.
If you want to play with this recipe, you can substitute coconut cream for a dairy-free option, though the texture will be slightly different—worth trying if you’re dairy-sensitive. And if you like a little extra flavor, a teaspoon of vanilla extract stirred into the condensed milk before folding in the cream is a nice touch.
Equipment Needed
- Mixing Bowl: A large, chilled bowl helps the heavy cream whip better. I like using stainless steel bowls, but glass works well too.
- Electric Mixer or Stand Mixer: Whipping the cream by hand is possible but takes longer and might not reach the same fluffy texture. A hand mixer is budget-friendly and does the job perfectly.
- Spatula: For folding the sweetened condensed milk into the whipped cream gently, preserving the airy texture.
- Freezer-Safe Container: I recommend a loaf pan or airtight plastic container. Metal pans freeze ice cream faster, but plastic containers are convenient and widely available.
If you don’t have an electric mixer, a balloon whisk and some patience will work, though your arm might get a little tired (been there!). Also, keeping your bowl and beaters cold in the fridge for 10-15 minutes before whipping helps achieve better volume.
Preparation Method
- Chill your equipment: Place your mixing bowl and beaters in the fridge or freezer for about 15 minutes. Cold tools help the heavy cream whip up faster and fluffier.
- Whip the heavy cream: Pour 2 cups (480 ml) of heavy cream into the chilled bowl. Using an electric mixer on medium-high speed, whip the cream until soft peaks form. This usually takes about 3-5 minutes. You’ll know it’s ready when the cream holds its shape but still looks smooth and silky. Be careful not to overwhip—otherwise, it might turn grainy or start to turn into butter.
- Fold in the sweetened condensed milk: Gently pour 1 can (14 oz / 396 g) of sweetened condensed milk into the whipped cream. Use a spatula to fold it in carefully, preserving as much air as possible. This step should take about 1-2 minutes. The mixture will be thick, creamy, and beautifully smooth.
- Add flavorings (optional): If you want vanilla, cocoa, or fruit flavors, fold them in now. For vanilla, 1 teaspoon of pure vanilla extract works wonders.
- Transfer to container: Spoon the mixture into a freezer-safe container, smoothing the top with the spatula.
- Freeze: Cover tightly with a lid or plastic wrap, and freeze for at least 6 hours, preferably overnight. The ice cream will firm up to a scoopable consistency.
- Serving tip: Let the ice cream sit at room temperature for 5-10 minutes before scooping to soften slightly. This makes scooping easier and enhances the creamy texture.
If you find the ice cream freezes too hard, don’t worry. Just leave it out longer before serving or scoop smaller portions to enjoy its creamy richness without digging too hard. This method is forgiving, so even if you forget it in the freezer, it still tastes great!
Cooking Tips & Techniques
One of the best parts of this recipe is how straightforward it is, but a few insider tips can make your ice cream even better.
- Chill everything: Cold cream whips faster and holds its shape better. I always pop my bowl and beaters into the freezer before starting.
- Whip to soft peaks: Stop whipping when you see soft peaks. If you go too far, the cream can separate and lose that dreamy texture.
- Fold gently: When mixing in the sweetened condensed milk, fold with a spatula using a slow, sweeping motion. This keeps the mixture airy and smooth instead of dense.
- Timing matters: Freeze the mixture for at least 6 hours, but overnight is best. Patience pays off with creamier ice cream.
- Flavor tricks: For chocolate lovers, mix in 2 tablespoons of good-quality cocoa powder with the condensed milk before folding. Or swirl in homemade berry jam for a fruity twist.
- Don’t skip resting time: Letting the ice cream sit a few minutes at room temp before scooping makes serving easier and flavors bloom.
I once forgot to chill my bowl and ended up with a runnier base that took forever to freeze. Lesson learned: cold bowl, happy ice cream! Also, if you want a thicker texture, try whipping the cream a bit firmer—but don’t go overboard.
Variations & Adaptations
While this recipe shines in its simplicity, you can easily customize it to fit your taste or dietary needs.
- Dairy-Free Version: Swap heavy cream for chilled full-fat coconut cream, and use a dairy-free sweetened condensed milk alternative. The texture will be slightly different but still deliciously creamy.
- Flavor Infusions: Add 1 teaspoon of espresso powder for a mocha twist, or stir in crushed mint leaves for a fresh touch. You can also fold in chopped nuts, chocolate chips, or cookie crumbs after mixing the base.
- Fruit Swirls: Gently fold in pureed strawberries, mango, or blueberries before freezing. This adds color and a natural fruity sweetness without extra sugar.
- Low-Sugar Adaptation: Use unsweetened whipped cream and replace the sweetened condensed milk with a homemade version using sugar substitute and evaporated milk (though this takes extra prep).
Personally, I once experimented by folding in crushed pistachios and a drizzle of honey after mixing the base—total crowd-pleaser at our last barbecue. Honestly, the recipe is so forgiving you can get creative without fear.
Serving & Storage Suggestions
This easy creamy no-churn 2-ingredient ice cream is best served straight from the freezer after softening for a few minutes. I love scooping it into small bowls and topping with fresh berries or a sprinkle of toasted nuts for some crunch.
It pairs beautifully with warm desserts too—think a slice of apple pie, brownies, or even drizzled with chocolate sauce for an indulgent touch. For a casual treat, just grab a spoon and enjoy it plain; the creaminess speaks for itself.
Store leftover ice cream in an airtight container in the freezer. It keeps well for up to two weeks without losing texture or flavor. If it hardens too much in storage, just let it sit at room temperature for about 10 minutes before scooping.
Over time in the freezer, the flavors mellow and deepen, making leftovers taste even better the next day. Just be sure to cover it tightly to avoid freezer burn or absorption of other odors.
Nutritional Information & Benefits
This homemade ice cream recipe is a relatively simple indulgence. A typical serving (about ½ cup or 120 ml) contains approximately:
| Nutrient | Amount |
|---|---|
| Calories | 250-300 kcal |
| Fat | 18-22 g |
| Sugar | 22-25 g |
| Protein | 3-4 g |
Heavy cream provides a source of fat-soluble vitamins A and D, while sweetened condensed milk adds calcium and protein. Of course, this is a treat best enjoyed in moderation, but it’s free from preservatives, artificial colors, and stabilizers often found in store-bought ice cream.
For those watching sugar intake, making your own condensed milk with less sugar or opting for dairy-free versions can help tailor the recipe to dietary preferences. Personally, knowing exactly what goes into my dessert adds peace of mind and makes this ice cream a bit more special.
Conclusion
This easy creamy no-churn 2-ingredient ice cream recipe is proof that sometimes the simplest things bring the most joy. It’s quick, forgiving, and tastes like a little bowl of homemade heaven. Whether you’re a seasoned cook or just starting out, this recipe invites you to enjoy dessert without the fuss or fancy equipment.
Feel free to make it your own—add your favorite flavors, mix-ins, or toppings. I love how it brings people together, whether at a casual family dinner or last-minute get-together. Honestly, it’s the kind of recipe you keep coming back to because it just works.
Give it a try, and let me know how you customize yours! I can’t wait to hear your ideas and stories. Happy scooping!
Frequently Asked Questions
Can I use half-and-half or milk instead of heavy cream?
Heavy cream is essential for the texture because of its fat content. Using half-and-half or milk won’t whip properly and will result in a less creamy ice cream.
How long can I store this no-churn ice cream in the freezer?
Stored in an airtight container, it keeps well for up to two weeks. Beyond that, texture and flavor might start to decline.
Can I add mix-ins like chocolate chips or nuts?
Absolutely! Fold in your favorite mix-ins gently after combining the cream and condensed milk, just before freezing.
Is this ice cream suitable for vegans?
Not as-is. But you can try substituting coconut cream and a vegan sweetened condensed milk alternative for a dairy-free version, though the texture will vary slightly.
Do I need an ice cream maker for this recipe?
Nope! This recipe is designed to be no-churn, so no special equipment is needed—just a mixer and a freezer-safe container.
Pin This Recipe!

Easy Creamy No-Churn 2-Ingredient Ice Cream Recipe for Perfect Homemade Dessert
- Total Time: 6 hours 15 minutes
- Yield: 6 servings 1x
Description
A quick and simple no-churn ice cream recipe using only heavy cream and sweetened condensed milk, delivering a rich, creamy texture without any fancy equipment.
Ingredients
- 2 cups (480 ml) heavy cream (or heavy whipping cream)
- 1 can (14 oz / 396 g) sweetened condensed milk
Instructions
- Chill your mixing bowl and beaters in the fridge or freezer for about 15 minutes.
- Pour 2 cups (480 ml) of heavy cream into the chilled bowl.
- Using an electric mixer on medium-high speed, whip the cream until soft peaks form (about 3-5 minutes).
- Gently fold in 1 can (14 oz / 396 g) of sweetened condensed milk using a spatula, preserving the airy texture.
- Optionally, fold in flavorings such as 1 teaspoon vanilla extract, cocoa powder, or fruit purees.
- Spoon the mixture into a freezer-safe container and smooth the top.
- Cover tightly and freeze for at least 6 hours, preferably overnight.
- Before serving, let the ice cream sit at room temperature for 5-10 minutes to soften.
Notes
Chill your bowl and beaters before whipping for better volume. Fold the condensed milk gently to keep the mixture airy. Let ice cream soften at room temperature before scooping. Can be customized with flavorings or mix-ins. For dairy-free, substitute coconut cream and dairy-free condensed milk.
- Prep Time: 15 minutes
- Cook Time: 6 hours
- Category: Dessert
- Cuisine: American
Nutrition
- Serving Size: About 1/2 cup (120 m
- Calories: 275
- Sugar: 23
- Sodium: 50
- Fat: 20
- Saturated Fat: 13
- Carbohydrates: 24
- Protein: 3.5
Keywords: no-churn ice cream, easy ice cream recipe, 2-ingredient ice cream, homemade ice cream, creamy dessert, no ice cream maker
