
Introduction
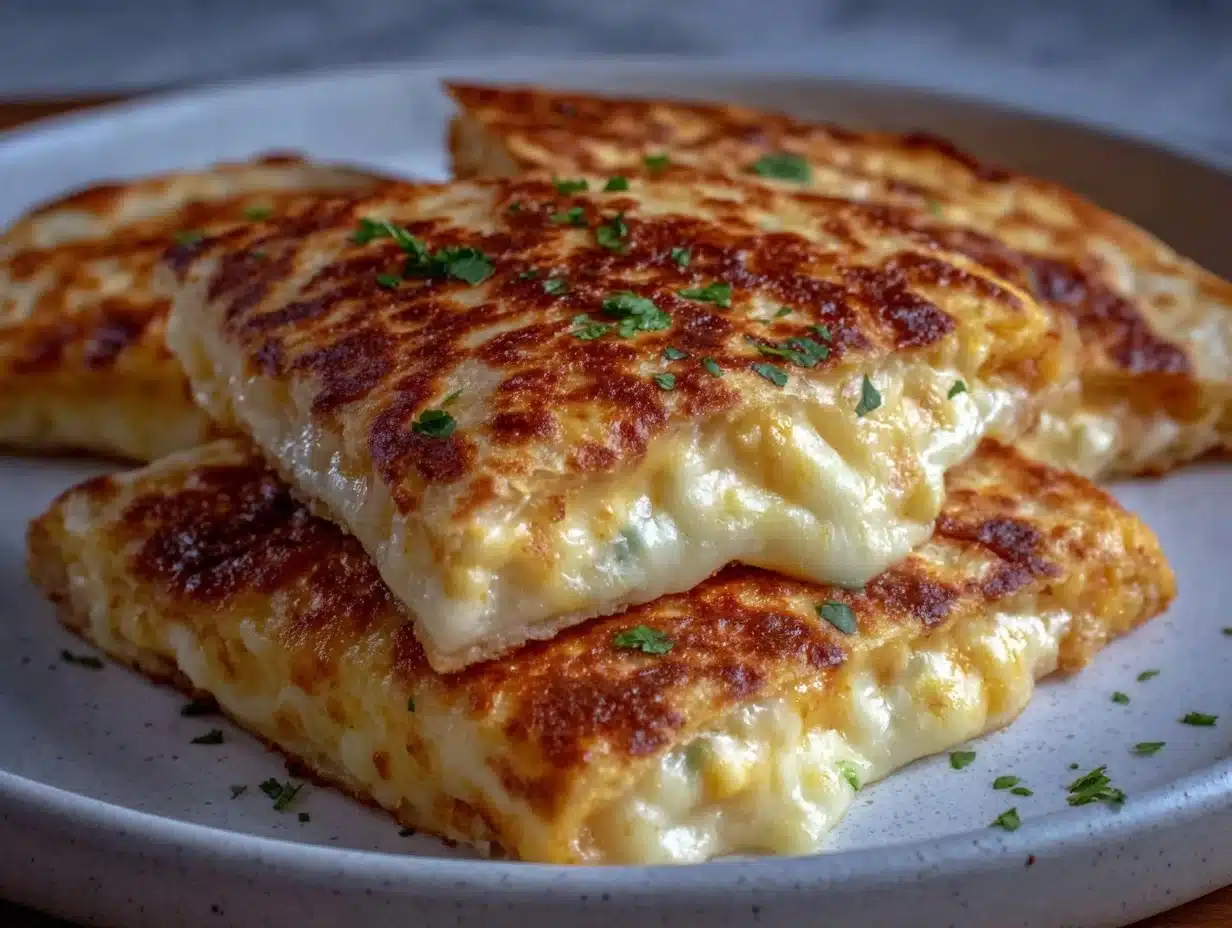
You know that moment when the house is suddenly filled with the irresistible aroma of bubbling melted cheese and toasted tortillas? That’s exactly what happens every time I make crispy cheese quesadilla triangles. The golden edges, the gooey center, and that satisfying crunch—honestly, it’s snack time magic. The first time I tried these, I remember standing in my kitchen, spatula in hand, watching the cheese stretch with every flip. I was instantly hooked. It’s the kind of moment where you pause, take a deep breath, and just smile because you know you’re onto something truly special.
Years ago, when I was knee-high to a grasshopper, my grandma would whip up quesadillas for us after school using whatever cheese we had on hand. She’d always say, “You don’t need fancy ingredients to make something delicious.” Fast forward to today, and these crispy triangles have become a staple in my kitchen. Whether it’s a rainy afternoon or a last-minute playdate, this snack delivers pure, nostalgic comfort. I wish I’d stumbled upon the trick for extra-crispy edges way sooner—life-changing, really!
My family can’t resist sneaking them off the cooling rack (I can’t really blame them!). Even the pickiest eaters are powerless against the lure of golden, cheesy triangles. And let’s face it, I’ve tested this recipe more times than I care to admit—all in the name of research, of course! These are perfect for potlucks, a sweet treat for your kids, or just to brighten up your Pinterest snack board. Every batch feels like a warm hug after a long day. If you’re searching for a snack that’s dangerously easy, loaded with crispy goodness, and sure to become a staple for family gatherings or gifting, you’re going to want to bookmark this one.
Why You’ll Love This Recipe
Let me tell you, these crispy cheese quesadilla triangles aren’t just good—they’re ridiculously good. Over the years, I’ve made my fair share of after school snacks, but this one always rises to the top for a bunch of reasons. Here’s why you’ll love this recipe (and why my family keeps begging for more):
- Quick & Easy: Comes together in under 15 minutes—perfect for busy weeknights, last-minute cravings, or hungry kids after school.
- Simple Ingredients: No fancy grocery trips needed; you probably already have everything in your kitchen.
- Perfect for Any Occasion: Great for after school nibbles, brunch, potlucks, cozy dinners, or holiday mornings. These triangles look adorable on any snack board!
- Crowd-Pleaser: Kids and adults alike give rave reviews—crunchy, cheesy, and easy to eat with your hands.
- Unbelievably Delicious: The combo of gooey cheese and crispy tortilla is next-level comfort food. One bite and you’ll see why it’s a keeper.
What makes this recipe different? First, I use a blend of cheeses for maximum flavor and melt—think sharp cheddar, creamy Monterey Jack, and even a little mozzarella for that perfect stretch. My secret for crispiness: a smidge of butter and a quick pan fry (not just a microwave reheat!). I’ve tried it all—bake, broil, even air fry—but nothing beats the pan method for golden edges.
This isn’t just another quesadilla—it’s my best version. The balance of cheesy goodness and crunch means you get restaurant-worthy results at home. It’s comfort food, reimagined for busy lives and picky eaters. Whether you’re impressing guests (with zero stress) or just trying to brighten a Tuesday afternoon, these crispy cheese quesadilla triangles always deliver. Close your eyes after the first bite—you’ll get it!
What Ingredients You Will Need
This recipe uses simple, wholesome ingredients to deliver bold flavor and a satisfying texture without the fuss. Most are pantry staples, and you can easily adapt the fillings to suit your taste or dietary needs. Here’s what goes into my crispy cheese quesadilla triangles:
- Flour Tortillas (8-inch, soft): For the classic base. You can use whole wheat or gluten-free tortillas if preferred.
- Cheddar Cheese (shredded, about 1 cup/120g): Sharp and flavorful. I love Cabot brand for the best melt.
- Monterey Jack Cheese (shredded, about 1 cup/120g): Adds creaminess and a gentle tang.
- Mozzarella Cheese (shredded, about 1/2 cup/60g): For that perfect cheese pull. Optional, but so good!
- Butter (unsalted, about 2 tablespoons/28g): For frying. Gives those crispy, golden edges.
- Salt (just a pinch): Helps accentuate the cheese flavor.
- Optional Add-ins:
- Finely Chopped Green Onions (1–2 tablespoons): Adds a fresh bite.
- Chopped Cooked Bacon (2 strips): For smoky flavor.
- Thinly Sliced Jalapeños (to taste): For a little heat.
- Black Beans (rinsed and drained, 1/4 cup/40g): Adds protein and texture.
- Cilantro (chopped, 1 tablespoon): Fresh herbal note.
Ingredient selection tips: For the cheese, avoid pre-shredded if possible—the anti-caking agents can make the melt less smooth. I recommend shredding your own cheese for the best texture. If you’re going gluten-free, look for tortillas made with almond flour or corn.
Substitution guidance: Use vegan cheese for a dairy-free version, or swap butter for olive oil if you like. In the summer, try adding fresh tomatoes or grilled veggies. For extra protein, add shredded rotisserie chicken or cooked ground beef. This recipe is flexible—just keep the ratios about the same for best results.
You’ll find all these ingredients at your local grocery store. No need for anything fancy—these are the classics that make after school snacking easy and delicious.
Equipment Needed
You don’t need a bunch of gadgets for crispy cheese quesadilla triangles—just a handful of reliable kitchen tools. Here’s what I use every time:
- Nonstick Skillet or Frying Pan (10-inch recommended): The key to golden, crispy edges. Cast iron works great, too!
- Spatula (thin and sturdy): Makes flipping super easy and keeps the triangles intact.
- Chef’s Knife: For slicing the quesadilla into neat triangles.
- Cutting Board: To protect your counter and get perfect slices.
- Cheese Grater: Essential if you’re shredding your own cheese.
- Paper Towels: For blotting excess oil if needed.
If you don’t own a nonstick skillet, a regular stainless steel pan works fine—just use a little extra butter and keep an eye on the heat. For budget-friendly options, I’ve used dollar-store spatulas and thrift-shop pans with great success. Honestly, it’s less about the equipment and more about the technique. Just be sure to wipe your pan between batches for the best crispiness!
Maintenance tip: If you use a cast iron skillet, remember to dry and oil it after washing (learned the hard way after a rusty pan incident!). Keep your cheese grater sharp for effortless shredding.
Preparation Method
-
Prep the Ingredients:
Shred all cheeses (cheddar, Monterey Jack, mozzarella) and set aside. Chop any optional add-ins, like onions, jalapeños, or cooked bacon. Measure out butter and have your tortillas ready. -
Heat the Skillet:
Place your nonstick or cast iron skillet over medium heat. Let it warm up for about 2–3 minutes. Add 1/2 tablespoon (7g) butter and swirl to coat the pan. -
Assemble the Quesadilla:
Lay one tortilla flat on your cutting board. Sprinkle a generous layer of cheese (about 1/3 cup/40g per tortilla) evenly across the surface, leaving a 1/2-inch border. Add any optional fillings you like—don’t overload or the cheese may ooze out! -
Top and Seal:
Place another tortilla on top and press gently. If using a single tortilla, fold it in half. This recipe works both ways, but folding gives a thicker, crispier edge. -
Fry to Golden Perfection:
Carefully transfer the assembled quesadilla to the hot skillet. Cook for 2–3 minutes, until the bottom is golden brown and crispy. Press down lightly with your spatula to encourage even browning. -
Flip and Finish:
Slide your spatula underneath and flip the quesadilla. Add a little more butter if needed. Cook another 2–3 minutes, watching for bubbling cheese and crispy edges. The cheese should be fully melted and the tortilla golden. -
Rest and Slice:
Transfer to a cutting board and let rest for 1 minute (helps the cheese set slightly—less mess!). Slice into triangles using a sharp knife. For neat edges, wipe the blade between cuts. -
Serve Hot:
Arrange triangles on a plate. Sprinkle with a little salt or fresh cilantro if you fancy. Serve immediately for maximum crispiness!
Troubleshooting tips: If the cheese isn’t melting, lower the heat and cover the pan briefly. If your tortillas are burning, reduce the heat and add a tad more butter. If the triangles fall apart during slicing, let them cool for an extra minute before cutting.
Personal tip: I always fry one quesadilla at a time for perfect results. You can keep finished triangles warm in a low oven (200°F/95°C) if making a big batch. Efficiency-wise, shred your cheese ahead and keep extras in the fridge for quick assembly.
Cooking Tips & Techniques
Over the years, I’ve picked up a few tricks for making the crispiest cheese quesadilla triangles—some learned the hard way, others from countless after school snack experiments.
- Don’t Skimp on Butter: Butter gives the tortillas a perfect golden crunch. Just a thin layer does the trick—too much and they get greasy, too little and they burn.
- Low and Slow Wins: Medium heat is your friend. Go too hot and the tortillas scorch before the cheese melts. Patience pays off!
- Shred Your Own Cheese: Pre-shredded cheese can be dry and doesn’t melt as well. A box grater is worth the extra minute.
- Press Down: Use your spatula to gently press the quesadilla as it cooks. This helps the cheese fuse with the tortilla and promotes even browning.
- Cover Briefly: If the cheese isn’t melting quickly, pop a lid on for 30 seconds. Just be careful not to trap too much steam—crispy edges are what you want!
- Slice While Warm: For the best presentation, slice the quesadilla while it’s still hot but not piping. This keeps the cheese gooey inside and the edges neat.
Common mistakes: Rushing the cook time or overfilling with cheese (I’ve had more than a few cheese volcanoes erupt in my pan). If you burn the first batch, don’t fret—wipe out the pan and try again with lower heat. Multitasking tip: Set up a little “assembly line”—prep cheese, tortillas, and fillings first so you can fry and slice without missing a beat.
Consistency tip: Use tortillas of the same thickness and size for even cooking. If making a big batch, keep finished triangles on a wire rack so they stay crisp instead of soggy.
Variations & Adaptations
Crispy cheese quesadilla triangles are endlessly adaptable. Here are a few favorite twists (some I’ve tested, some from readers):
- Gluten-Free Version: Swap flour tortillas for gluten-free or corn tortillas. They crisp up beautifully—just handle with care, as they can tear more easily.
- Loaded Veggie Quesadillas: Add sautéed mushrooms, spinach, or bell peppers for a veggie-packed snack. Just make sure veggies are cooked and dry to avoid soggy triangles.
- Spicy Southwest: Add pepper jack cheese, jalapeños, and a sprinkle of taco seasoning for a bold kick. Serve with salsa or guacamole for dipping.
- Dairy-Free Adaptation: Use plant-based cheese and vegan butter. I’ve tried the Daiya brand, and it melts nicely in this recipe.
- Protein Boost: Toss in shredded rotisserie chicken, cooked ground beef, or black beans for extra staying power—great for older kids or grown-ups.
Cooking method adaptations: If you prefer baking, preheat your oven to 400°F (205°C), brush tortillas with butter, and bake on a sheet for 8–10 minutes, flipping halfway. For air fryer fans, cook at 360°F (182°C) for 5–7 minutes, checking often.
Personal favorite: I like adding a thin layer of refried beans and a sprinkle of chipotle powder for a smoky, creamy finish. It’s a fun twist that my family goes bonkers for!
Serving & Storage Suggestions
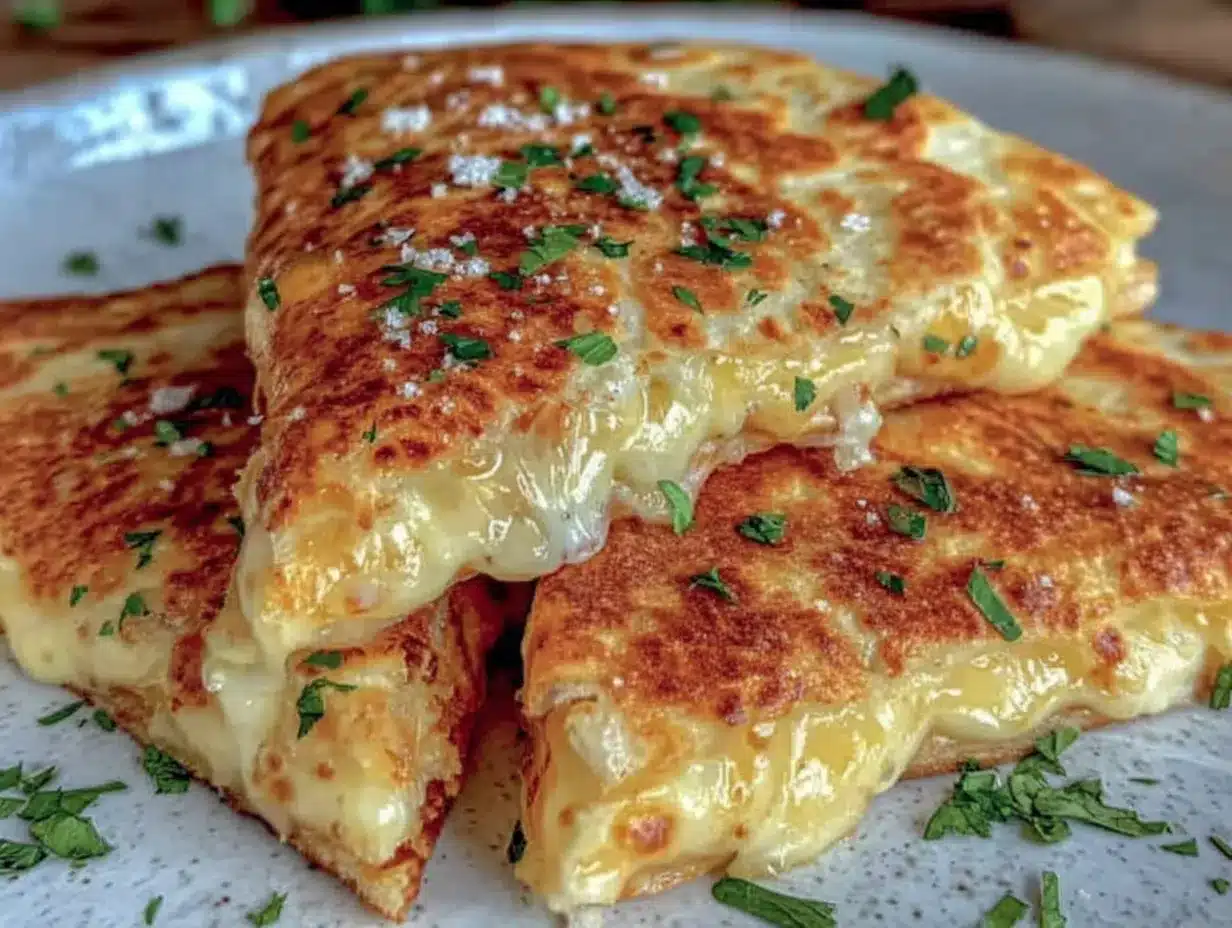
Serve crispy cheese quesadilla triangles hot and fresh for that ultimate crunch. I love piling them onto a colorful platter and sprinkling with chopped cilantro or a dash of chili powder. For a fun after school spread, add bowls of salsa, sour cream, or guacamole for dipping.
These triangles pair perfectly with tomato soup, a light salad, or fresh fruit for a complete snack. For drinks, try lemonade, iced tea, or a simple agua fresca—great for kids and adults alike.
Storage instructions: Leftover quesadilla triangles can be kept in an airtight container in the fridge for up to 3 days. Reheat in a skillet over low heat or pop them in the oven at 350°F (175°C) for 5–7 minutes (skip the microwave if you want to keep them crispy!).
Freezing: Place cooled triangles in a single layer on a baking sheet, freeze until solid, then transfer to a zip-top bag. Reheat straight from frozen in the oven or air fryer—just add a minute or two to the cooking time.
Flavor note: The cheese flavor deepens as they sit (honestly, leftovers are pretty great!). Just remember, crispiness is best right after frying.
Nutritional Information & Benefits
Each serving (about 3 triangles) provides roughly 220 calories, 12g protein, 15g fat, and 18g carbohydrates. Cheese offers calcium, protein, and vitamin B12, while tortillas supply energy-boosting carbs.
Health benefits: Using whole wheat or gluten-free tortillas boosts fiber content. Cheese is a good source of protein and helps keep you full after school (especially for growing kids!). Add veggies or beans for extra vitamins and minerals.
Dietary considerations: This recipe can be made gluten-free, vegetarian, or dairy-free with simple swaps. Watch for cheese and tortilla allergies—always read labels if serving to guests. Personally, I love that you can pack in extra veggies without sacrificing taste or texture.
Conclusion
Crispy cheese quesadilla triangles truly hit the sweet spot—fast, flavorful, and endlessly customizable. The combination of gooey cheese and crispy tortilla makes every bite a little celebration (and let’s be honest, they disappear faster than you can make them!). Whether you’re feeding a crowd, treating yourself, or making snack time special for your kids, this recipe is worth a spot in your regular rotation.
Feel free to swap in your favorite cheeses, add fresh veggies, or play with spices—make it your own! Every batch I make reminds me why I love simple, homemade snacks. If you try these, share your twist in the comments or tag me with your creations. I can’t wait to hear how you make crispy cheese quesadilla triangles a staple in your kitchen!
So, go ahead—grab your skillet and try them today. Your taste buds (and your family) will thank you!
FAQs
Can I make crispy cheese quesadilla triangles ahead of time?
Yes, you can! Prepare and cook them as directed, then cool and store in an airtight container. Reheat in a skillet or oven for maximum crispiness.
What cheeses work best for quesadilla triangles?
A blend of cheddar, Monterey Jack, and mozzarella gives the best flavor and melt. Feel free to use your favorites or whatever you have on hand.
How do I keep the triangles crispy after cooking?
Place them on a wire rack instead of a plate to help air circulate and prevent sogginess. Reheat in a skillet or oven for best results.
Can I freeze cheese quesadilla triangles?
Absolutely! Freeze cooled triangles in a single layer, then store in a zip-top bag. Reheat straight from frozen in the oven or air fryer.
What’s the best way to serve these for a party?
Arrange the triangles on a colorful platter with small bowls of salsa, guacamole, and sour cream for dipping. Sprinkle with fresh herbs for a festive touch!
Pin This Recipe!
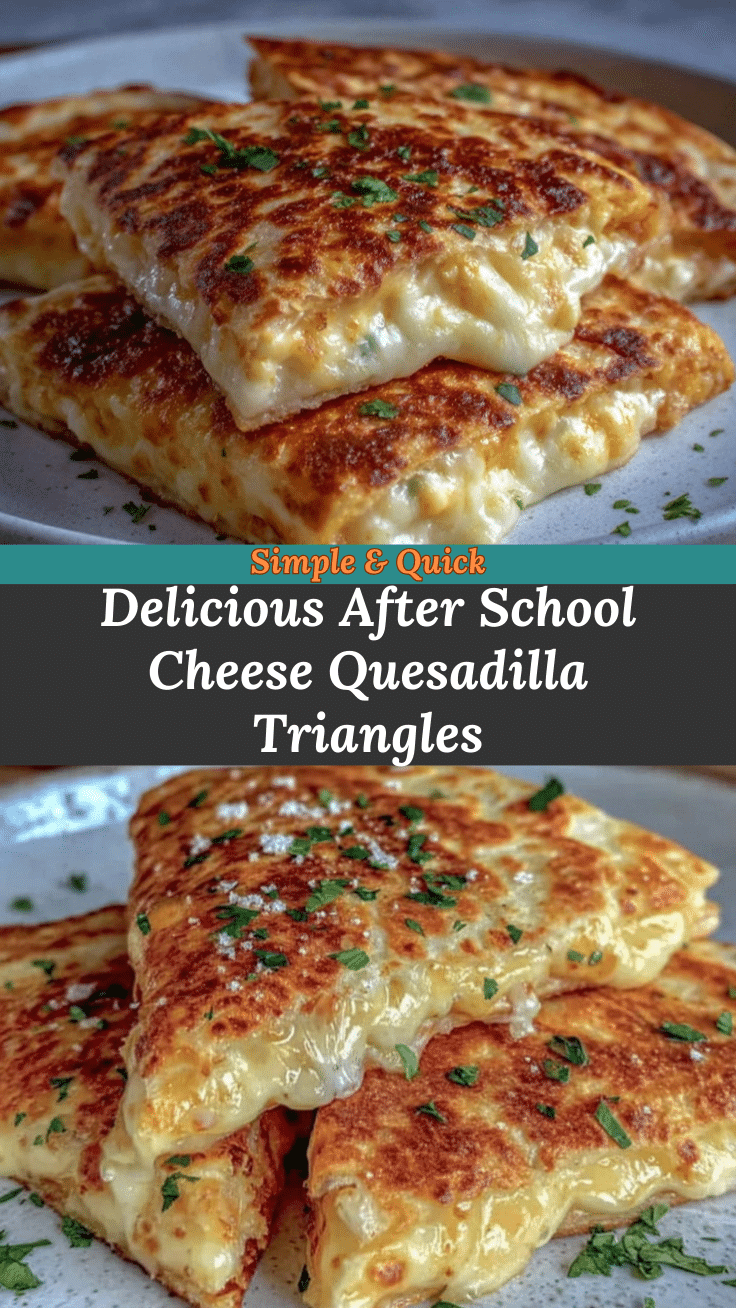

Crispy Cheese Quesadilla Triangles
- Total Time: 13 minutes
- Yield: 4 servings 1x
Description
These crispy cheese quesadilla triangles are a quick and easy after school snack featuring a blend of gooey cheeses and golden, crunchy tortillas. Perfect for kids and adults alike, they’re endlessly customizable and always a crowd-pleaser.
Ingredients
- 8-inch flour tortillas (soft, 4 pieces)
- 1 cup shredded cheddar cheese (about 4 oz)
- 1 cup shredded Monterey Jack cheese (about 4 oz)
- 1/2 cup shredded mozzarella cheese (about 2 oz, optional)
- 2 tablespoons unsalted butter (about 1 oz)
- Pinch of salt
- Optional: 1–2 tablespoons finely chopped green onions
- Optional: 2 strips chopped cooked bacon
- Optional: Thinly sliced jalapeños, to taste
- Optional: 1/4 cup black beans, rinsed and drained
- Optional: 1 tablespoon chopped cilantro
Instructions
- Shred all cheeses and set aside. Chop any optional add-ins, like onions, jalapeños, or cooked bacon. Measure out butter and have your tortillas ready.
- Heat a nonstick or cast iron skillet over medium heat for 2–3 minutes. Add 1/2 tablespoon butter and swirl to coat the pan.
- Lay one tortilla flat on a cutting board. Sprinkle about 1/3 cup cheese evenly across the surface, leaving a 1/2-inch border. Add any optional fillings.
- Place another tortilla on top and press gently. Alternatively, fold a single tortilla in half for a thicker, crispier edge.
- Transfer the assembled quesadilla to the hot skillet. Cook for 2–3 minutes, until the bottom is golden brown and crispy. Press down lightly with a spatula.
- Flip the quesadilla. Add a little more butter if needed. Cook another 2–3 minutes, watching for bubbling cheese and crispy edges.
- Transfer to a cutting board and let rest for 1 minute. Slice into triangles using a sharp knife.
- Arrange triangles on a plate. Sprinkle with a little salt or fresh cilantro if desired. Serve immediately for maximum crispiness.
Notes
For extra crispiness, fry one quesadilla at a time and wipe the pan between batches. Shred your own cheese for best melt. Keep finished triangles warm in a low oven if making a big batch. Use gluten-free or whole wheat tortillas for dietary needs. Add veggies, beans, or protein for variations.
- Prep Time: 5 minutes
- Cook Time: 8 minutes
- Category: Snack
- Cuisine: Mexican
Nutrition
- Serving Size: About 3 triangles
- Calories: 220
- Sugar: 1
- Sodium: 350
- Fat: 15
- Saturated Fat: 8
- Carbohydrates: 18
- Fiber: 2
- Protein: 12
Keywords: quesadilla, cheese, crispy, snack, after school, easy, kid-friendly, Mexican, quick, party food
