

Introduction
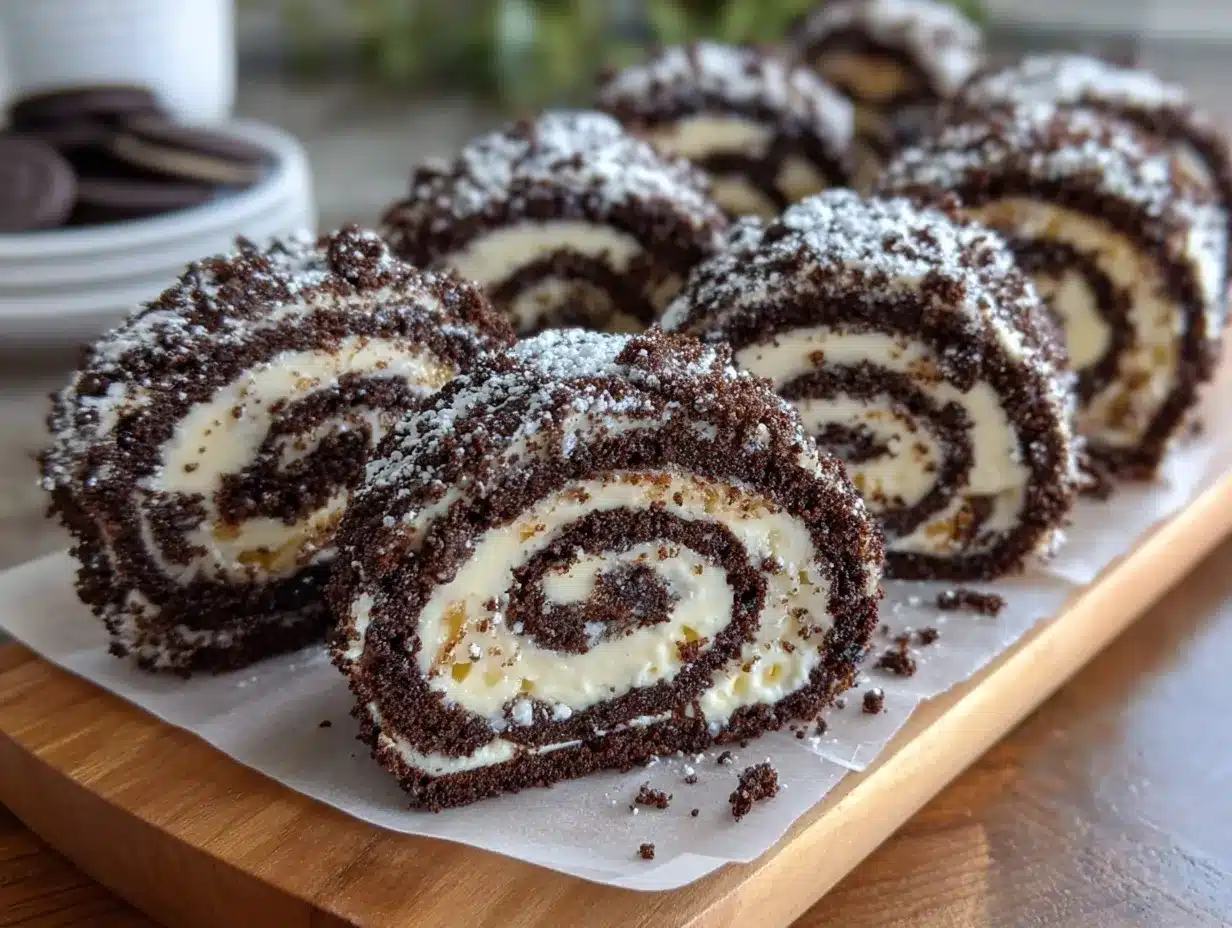
Picture this: the rich, chocolatey aroma of crushed Oreos mingling with the sweet creaminess of a luscious filling. It’s the kind of moment that instantly makes your taste buds tingle with excitement! Sweet Oreo Sushi Rolls aren’t just a dessert—they’re an adventure. The first time I made these, I was trying to whip up something fun for my niece’s birthday party. Let me tell you, they were gone in minutes. Seriously, I didn’t even get a chance to grab one for myself before the kids swarmed the plate like it was candy at Halloween!
This recipe is the perfect blend of creativity and indulgence. I mean, who doesn’t love Oreos? Combine them with a creamy filling and roll them up sushi-style, and you’ve got yourself a dessert that’s as fun to make as it is to eat. My family couldn’t stop raving about them, and I knew I had stumbled upon something special. It’s the kind of treat that makes people say, “Wait, can I have the recipe for this?”
Whether you’re throwing a party, need a quick dessert, or just want to surprise your kids with something unique for movie night, Sweet Oreo Sushi Rolls will make you the hero of the day. And honestly, they’re so easy, you’ll wonder why you didn’t come up with this idea sooner. It’s dangerously simple, but oh-so-delicious. So, grab your Oreos and let’s get rolling—literally!
Why You’ll Love This Recipe
- Fun and Creative: It’s not every day you get to turn a classic cookie into sushi rolls!
- No Baking Required: Perfect for hot summer days or anytime you want a no-fuss treat.
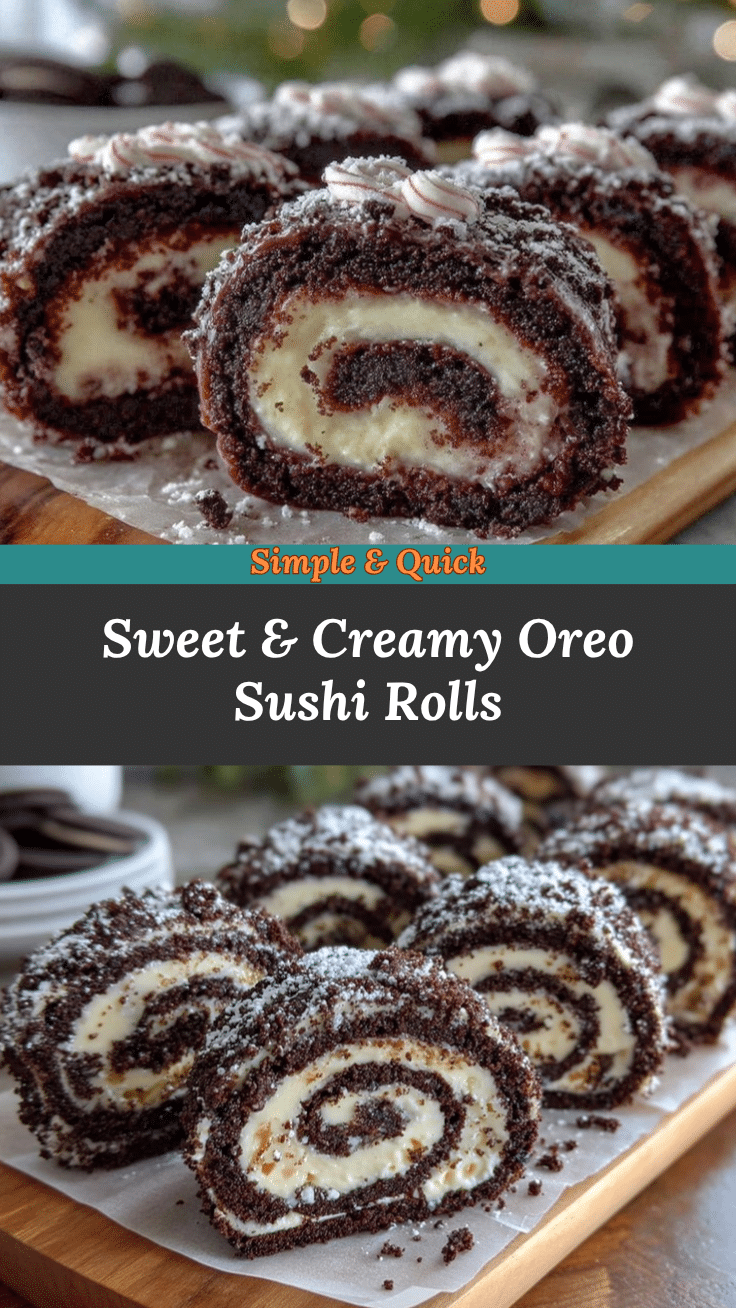
- Quick to Make: These rolls come together in under 30 minutes, making them ideal for last-minute parties or cravings.
- Kid-Friendly: Both kids and adults absolutely love these—they’re a guaranteed crowd-pleaser.
- Customizable: Add your favorite fillings or toppings to make them uniquely yours.
- Instagram-Worthy: Let’s be honest, these rolls are super cute and perfect for snapping pictures to share with friends!
What makes this dessert stand out is its playful twist on a beloved childhood classic. You’re not just eating Oreos—you’re transforming them into something totally unexpected. And the best part? You don’t need fancy tools or ingredients. If you’ve got Oreos, cream cheese, and a sweet tooth, you’re ready to roll (pun intended). Whether you’re trying to impress guests or just looking for a fun activity with your kids, these are perfect. Trust me, they’ll be asking for seconds—and thirds!
What Ingredients You Will Need
This recipe uses simple ingredients you can easily find at your local grocery store or might already have in your kitchen. Here’s what you’ll need:
- Oreos: About 20 cookies—classic Oreos work best, but feel free to experiment with flavored varieties.
- Cream cheese: 8 ounces, softened to room temperature (makes the filling extra creamy).
- Powdered sugar: 1/4 cup, for sweetness and smooth texture.
- Vanilla extract: 1 teaspoon, for a hint of added flavor.
- Milk: 2-3 tablespoons, to help bind the crushed Oreos into a dough-like texture.
- Optional toppings: Chocolate syrup, sprinkles, shredded coconut, or crushed nuts for garnish.
Feel free to get creative with your fillings or toppings. Swap the cream cheese for peanut butter or Nutella if you’re feeling adventurous. You can also use flavored Oreos to add a unique twist—mint, birthday cake, or golden Oreos work wonderfully!
Equipment Needed
- Food processor: Essential for crushing the Oreos into a fine crumb.
- Mixing bowl: To combine the cream cheese and powdered sugar for the filling.
- Rolling mat: A sushi mat works well, but a clean kitchen towel or parchment paper is a great alternative.
- Plastic wrap: Helps you roll the sushi tightly without sticking.
- Knife: A sharp knife for slicing the rolls neatly.
If you don’t have a food processor, you can crush the Oreos in a zip-top bag using a rolling pin. It’s a little more effort, but it works like a charm. And for slicing, a serrated knife may help achieve cleaner cuts without squishing the rolls.
Preparation Method
- Crush the Oreos: Place the Oreos in a food processor and pulse until they turn into fine crumbs. If you don’t have a food processor, put them in a zip-top bag and crush them with a rolling pin.
- Make the Oreo dough: Transfer the crushed Oreos to a mixing bowl. Add 2-3 tablespoons of milk and mix until the crumbs come together into a dough-like texture. It should be sticky but not overly wet.
- Prepare the filling: In a separate bowl, mix the softened cream cheese, powdered sugar, and vanilla extract until smooth and creamy.
- Roll out the Oreo dough: Lay a piece of plastic wrap or parchment paper on your rolling surface. Spread the Oreo dough on top and press it into a rectangular shape, about 1/4-inch thick.
- Spread the filling: Evenly spread the cream cheese mixture over the Oreo dough, leaving a small border around the edges.
- Roll the sushi: Using the plastic wrap or parchment paper, gently roll the dough into a tight log, starting from one end. Make sure to roll evenly to avoid gaps.
- Chill the roll: Wrap the log tightly in plastic wrap and refrigerate for at least 30 minutes to firm up.
- Slice and serve: Once chilled, use a sharp knife to slice the log into sushi-style rolls, about 1-inch thick.
- Optional toppings: Drizzle with chocolate syrup, sprinkle with toppings of your choice, and serve immediately!
Pro tip: If your Oreo dough feels too dry and crumbly, add a tiny bit more milk until it holds together. And don’t rush the chilling step—it’s key to slicing cleanly without the rolls falling apart.
Cooking Tips & Techniques
Making Sweet Oreo Sushi Rolls is straightforward, but these tips can help ensure success:
- Crush Oreos finely: The finer the crumbs, the smoother your dough will roll out. A food processor works best, but a rolling pin and zip-top bag can do the trick too.
- Don’t skip the chilling: Refrigerating the roll allows the filling to set and makes slicing much easier.
- Use even pressure: When rolling the dough, apply consistent pressure to get a tight and uniform log.
- Clean knife between slices: Wipe your knife after each cut to keep the rolls looking neat and presentable.
- Experiment with flavors: Try adding a pinch of cinnamon or using flavored extracts (like almond or peppermint) in the cream cheese filling for a fun twist.
These tips come from plenty of trial and error. Trust me, once you’ve nailed the technique, you’ll be making these rolls on repeat!
Variations & Adaptations
- Gluten-Free Option: Use gluten-free Oreos and ensure your powdered sugar is gluten-free.
- Dairy-Free Version: Swap cream cheese with dairy-free alternatives like coconut cream or almond-based cream cheese.
- Seasonal Twist: Add crushed candy canes during the holidays or fresh berries in summer for a fruity touch.
- Nutty Delight: Sprinkle crushed nuts like almonds or hazelnuts on top for added crunch.
- Chocolate Explosion: Mix cocoa powder into the cream cheese filling for a double chocolate experience.
Personally, I’ve tried adding Nutella to the filling—it turned out rich and decadent. Feel free to get creative and make this recipe your own!
Serving & Storage Suggestions
Serving: Serve these rolls chilled for the best texture and flavor. Arrange them on a platter with a drizzle of chocolate syrup and a sprinkle of colorful toppings for an eye-catching presentation.
Storage: Store any leftovers in an airtight container in the refrigerator for up to 3 days. If you need to make them ahead for a party, refrigerate the rolls whole and slice them just before serving.
Reheating: These rolls are best eaten cold, so re-heating isn’t necessary. If you want to refresh their appearance, add a fresh drizzle of syrup or sprinkle on new toppings.
Fun fact: The flavors actually deepen as the rolls sit, so they’re even better the next day!
Nutritional Information & Benefits
While Sweet Oreo Sushi Rolls are undoubtedly indulgent, here’s a rough idea of the nutritional profile:
- Calories: Approximately 120-150 per roll (depending on size).
- Fat: Around 6g per roll.
- Sugar: Roughly 12g per roll.
These rolls are a treat, so enjoy them in moderation. They’re free from eggs and can be made gluten- or dairy-free with simple substitutions, making them accessible to a wider range of dietary needs.
Conclusion
Sweet Oreo Sushi Rolls are more than just a dessert—they’re an experience. With their playful presentation and irresistible flavor, they’re perfect for impressing guests or brightening up a family gathering. Plus, they’re so easy to make, you’ll find yourself reaching for this recipe every time you want to whip up something fun and unique.
Personally, I love how versatile this recipe is. Whether I’m using different fillings or trying new toppings, it never gets boring. I hope you give these rolls a try and share your own spins on them. If you do, leave a comment below or tag me—I’d love to see your creations!
Now, grab those Oreos and start rolling. Trust me, this recipe is one you’ll want to bookmark and make again and again.
FAQs
Can I use flavored Oreos for this recipe?
Yes! Flavored Oreos like mint or birthday cake add a fun twist to the rolls.
Can I make these ahead of time?
Absolutely. You can refrigerate the roll whole and slice it right before serving for the freshest presentation.
What’s the best way to crush Oreos without a food processor?
Place them in a zip-top bag and crush with a rolling pin until fine crumbs form.
Can I freeze Sweet Oreo Sushi Rolls?
Yes, you can freeze them for up to a month. Just thaw in the fridge before serving.
What toppings work best for these rolls?
Chocolate syrup, sprinkles, shredded coconut, or crushed nuts are all great options.
Pin This Recipe!

Sweet Oreo Sushi Rolls Recipe – Easy Fun Dessert Idea
- Total Time: 45 minutes
- Yield: 12 rolls 1x
Description
Sweet Oreo Sushi Rolls are a fun and creative dessert that combines crushed Oreos with a creamy filling, rolled sushi-style for a unique and indulgent treat.
Ingredients
- 20 Oreos
- 8 ounces cream cheese, softened
- 1/4 cup powdered sugar
- 1 teaspoon vanilla extract
- 2–3 tablespoons milk
- Optional toppings: chocolate syrup, sprinkles, shredded coconut, crushed nuts
Instructions
- Place the Oreos in a food processor and pulse until they turn into fine crumbs. Alternatively, crush them in a zip-top bag using a rolling pin.
- Transfer the crushed Oreos to a mixing bowl. Add 2-3 tablespoons of milk and mix until the crumbs come together into a dough-like texture.
- In a separate bowl, mix the softened cream cheese, powdered sugar, and vanilla extract until smooth and creamy.
- Lay a piece of plastic wrap or parchment paper on your rolling surface. Spread the Oreo dough on top and press it into a rectangular shape, about 1/4-inch thick.
- Evenly spread the cream cheese mixture over the Oreo dough, leaving a small border around the edges.
- Using the plastic wrap or parchment paper, gently roll the dough into a tight log, starting from one end. Make sure to roll evenly to avoid gaps.
- Wrap the log tightly in plastic wrap and refrigerate for at least 30 minutes to firm up.
- Once chilled, use a sharp knife to slice the log into sushi-style rolls, about 1-inch thick.
- Drizzle with chocolate syrup, sprinkle with toppings of your choice, and serve immediately.
Notes
[‘If the Oreo dough feels too dry and crumbly, add a tiny bit more milk until it holds together.’, ‘Refrigerating the roll allows the filling to set and makes slicing much easier.’, ‘Clean your knife after each cut to keep the rolls looking neat.’]
- Prep Time: 15 minutes
- Cook Time: 0 minutes
- Category: Dessert
- Cuisine: American
Nutrition
- Serving Size: 1 roll
- Calories: 120150
- Sugar: 12
- Fat: 6
Keywords: Oreo dessert, no-bake dessert, sushi rolls, kid-friendly dessert, party treat, easy dessert recipe
